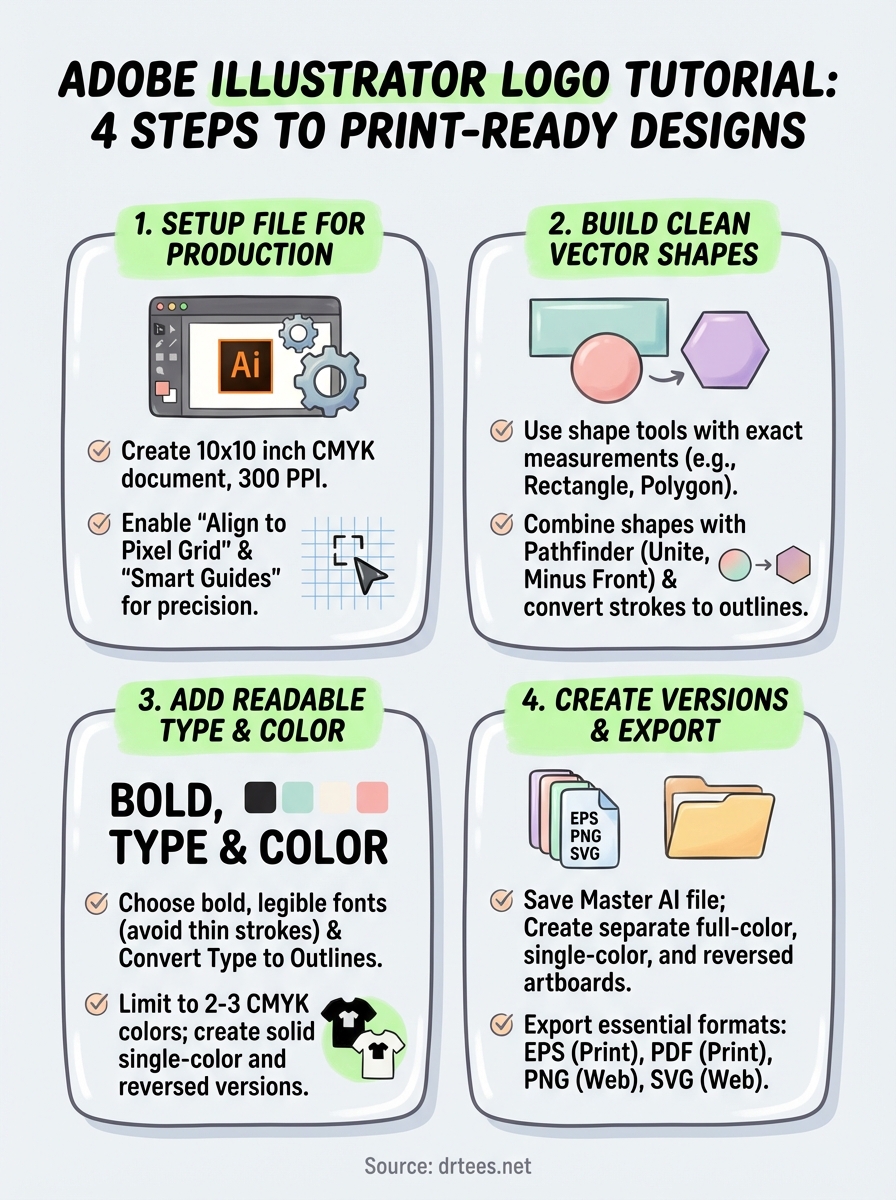
Adobe Illustrator Design: A Complete Step‑by‑Step Tutorial
Why Learn Illustrator for Design?
Adobe Illustrator remains the go‑to vector engine for everything from branding logos to intricate illustrations. Unlike raster programs, its shapes stay crisp at any size, making it ideal for print, web, and motion graphics. If you’ve ever felt stuck at “blank canvas,” this tutorial will walk you through the essential workflow so you can turn ideas into polished artwork without endless trial and error.
Setting Up Your Workspace
Before you draw a single line, take a minute to arrange the panels you’ll use most. Go to Window > Workspace > Essentials and then drag the Properties panel to the right side of the screen. Adding Layers, Swatches, and Appearance gives you quick access to color, hierarchy, and effects. Finally, hit Ctrl+Alt+Shift+K (Cmd on Mac) to save the layout as a custom workspace you can return to anytime.
Step 1: Sketching the Concept
If you start with a rough sketch—paper, tablet, or a quick Photoshop doodle—import it as a Template layer (File > Place, then check “Template”). Lock the layer, reduce its opacity, and trace over it with the Pen Tool (P). This approach keeps the final vector clean while preserving the spontaneity of hand‑drawn ideas.
Step 2: Mastering the Pen Tool
The Pen Tool feels intimidating at first, but its power lies in control. Click to create corner points; click‑drag for smooth curves. When you make a mistake, hit Ctrl+Z (Cmd+Z) or use the Direct Selection Tool (A) to adjust individual anchors. A good practice is to start with simple shapes—circles, rectangles, triangles—and combine them using the Pathfinder panel.
- Union merges shapes into one.
- Minus Front cuts the top shape out of the one underneath.
- Intersect keeps only the overlapping area.
Step 3: Building with Shapes and Grids
For clean, geometric designs, turn on View > Show Grid and enable Snap to Grid. Draw rectangles, ellipses, or polygons, then hold Shift to constrain proportions. Use the Align panel to distribute elements evenly—a trick that saves countless minutes when arranging icons or UI components.
Step 4: Applying Color and Gradients
Colors can make or break a design. Open the Swatches panel and create a cohesive palette: start with a base hue, then add lighter tints and darker shades. For depth, apply linear or radial gradients via the Gradient panel; experiment with the Gradient Annotator directly on the object to fine‑tune direction and color stops.
Step 5: Adding Typography
Illustrator handles type beautifully, but it’s easy to overlook best practices. Choose a font that complements your visual style, then convert it to outlines (Type > Create Outlines) if you plan to export the file for print or for clients without the same fonts. Remember to keep text on its own layer for easy editing later.
Step 6: Using Effects Wisely
Effects like Drop Shadow, Outer Glow, or 3D Extrude & Bevel can add polish, but overusing them creates visual clutter. Apply effects through the Appearance panel so you can toggle visibility or adjust parameters without destroying the original vector paths. A single subtle shadow often feels more professional than a heavy, opaque one.
Step 7: Exporting for Different Media
When your artwork is ready, think about its destination. For print, export as PDF (Press Quality) and embed fonts or outlines as needed. For web or app assets, choose SVG to retain scalability and a small file size, or PNG if you need rasterized transparency. Use File > Export > Export As and select “Use Artboards” to batch‑export multiple variations at once.
Tips for a Faster Workflow
- Use keyboard shortcuts; they cut down repetitive clicks.
- Save frequently with Ctrl+S (Cmd+S) and enable auto‑save in Preferences.
- Organize layers with clear naming conventions—“Background,” “Icons,” “Text”—to avoid confusion on large projects.
- Leverage Illustrator’s Graphic Styles to reuse a set of appearances across multiple objects.
Common Pitfalls and How to Avoid Them
Beginners often rasterize images unintentionally, which defeats the purpose of vector work. Keep an eye on the Links panel: if an image shows a warning triangle, it’s linked but not embedded, which can cause missing assets when sharing files. Also, resist the urge to apply too many anchor points—each point adds complexity and can slow down the program.
FAQ
Do I need a subscription to use Illustrator?
Yes, Adobe Illustrator is part of the Creative Cloud subscription model. However, Adobe offers a 7‑day free trial, and discounted plans are available for students and teachers.
Can I create a logo entirely within Illustrator?
Absolutely. Illustrator’s vector tools, precise color control, and ability to export scalable formats make it the industry standard for logo design.
Is it possible to animate Illustrator artwork?
While Illustrator itself isn’t an animation program, you can export assets as SVG or layered Photoshop files and import them into After Effects or Adobe Animate for motion work.
How do I keep my file size small?
Limit the number of raster images, purge unused swatches, and collapse layers you no longer need. The “File > Save As” dialog also offers an option to reduce file size by discarding hidden objects.