Create an Apple ID on Your iPad: A Simple Step‑by‑Step Guide
Having an Apple ID on your iPad unlocks a world of services—from the App Store and iCloud to Apple Music and FaceTime. If you’re new to iOS or just forgot how to set one up, this guide will walk you through the process in plain language and no jargon. By the end, you’ll be logged in, ready to download apps, backup photos, and keep your data synced across devices.
Why You Need an Apple ID on Your iPad
An Apple ID is more than a login credential; it’s the key that ties your iPad to the Apple ecosystem. With it, you can:
- Download and update apps from the App Store.
- Back up photos, contacts, and settings to iCloud.
- Use Apple Pay and iMessage securely.
- Enable Find My iPad to locate a lost device.
Even if you only use the iPad for browsing, an Apple ID keeps your experience smooth and integrated.
Pre‑Setup Checklist
Before diving into the creation process, make sure you have:
- A stable Wi‑Fi connection.
- The latest iPadOS version installed.
- A valid email address (not already tied to another Apple ID).
- Optional: A credit card or debit card if you plan to purchase apps.
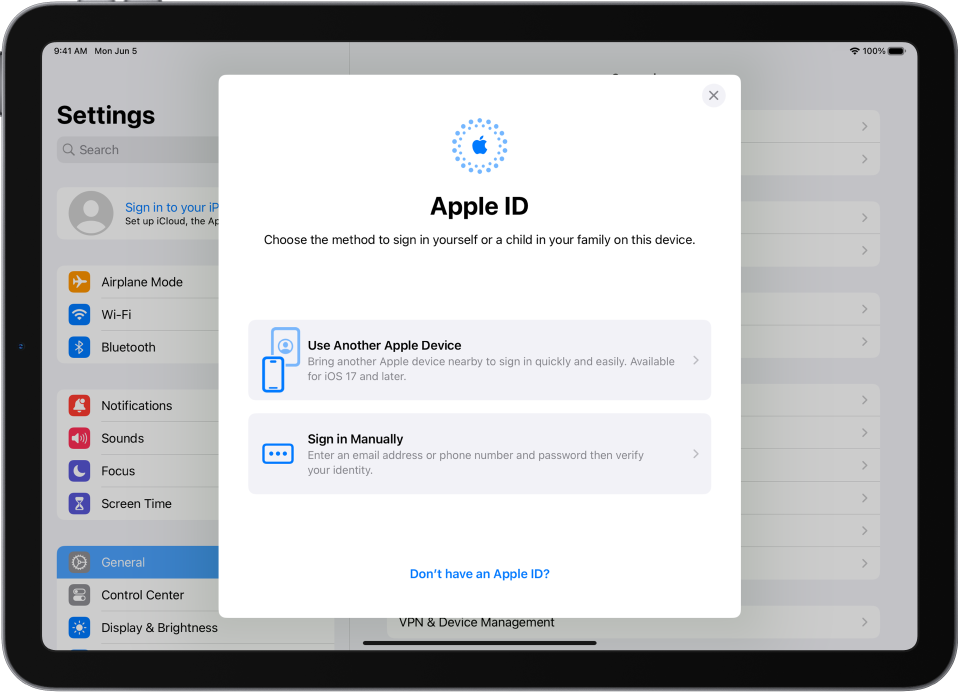
If you’re setting up a brand‑new iPad, you’ll see a welcome screen that prompts you to sign in. If you’re adding an ID on an existing device, navigate to Settings > Sign in to your iPad.
Create Apple ID On iPad: The Step‑by‑Step Process
Follow these steps and you’ll be set in minutes.
- Step 1: Open Settings
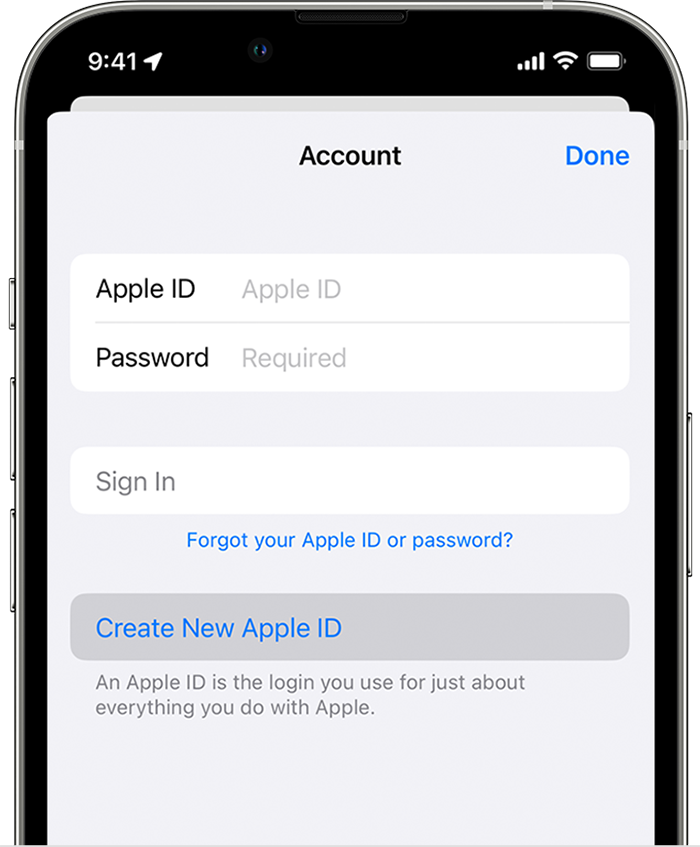
Tap the gear icon on your home screen, then scroll to the top and select “Sign in to your iPad.” - Step 2: Tap “Don’t have an Apple ID?”
This option appears right beneath the sign‑in fields. - Step 3: Enter Your Email
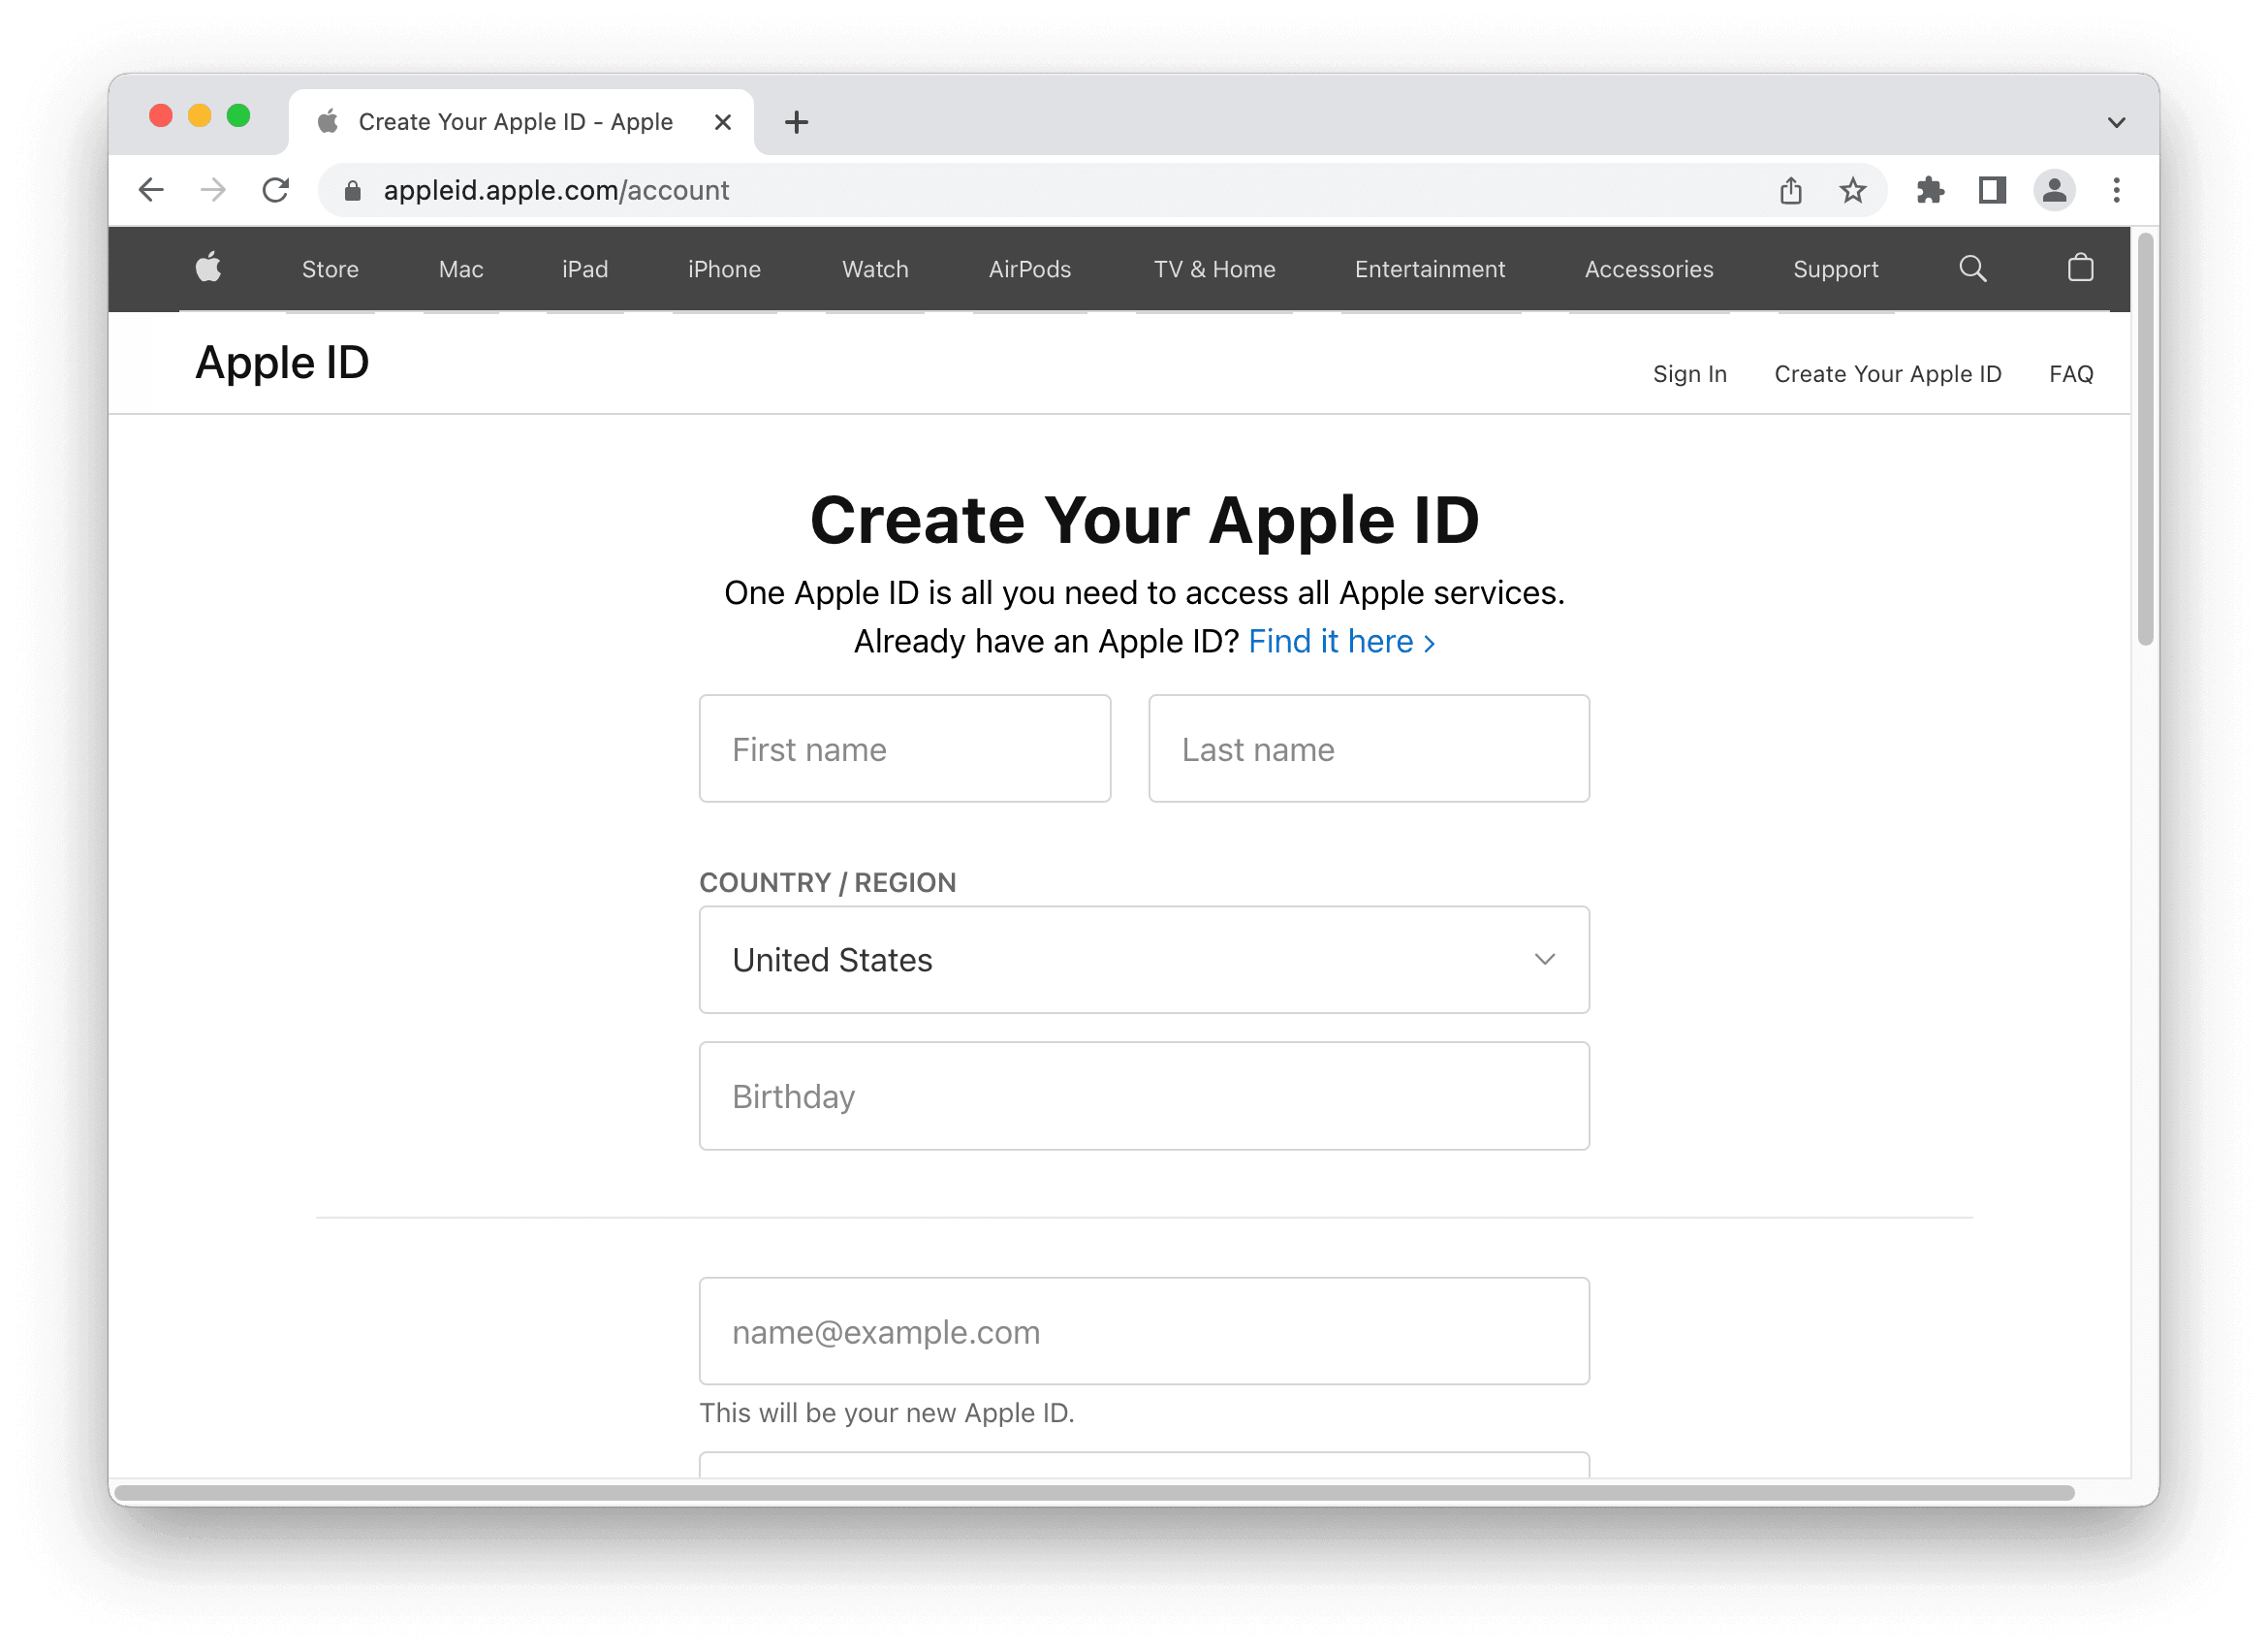
Provide a valid email address. Apple will send a verification code to this address. - Step 4: Create a Password
Choose a strong password—ideally 12–16 characters mixing letters, numbers, and symbols. Confirm it in the next field. - Step 5: Fill in Your Personal Details
Enter your first name, last name, and date of birth. Apple uses this to enforce age‑appropriate restrictions. - Step 6: Verify Your Email
Check your inbox for Apple’s email, copy the six‑digit code, and paste it into the verification box on the iPad. - Step 7: Set Up Two‑Factor Authentication
Apple strongly recommends enabling 2FA. Follow the prompts to add a trusted phone number. - Step 8: Agree to Terms and Conditions
Read through Apple’s terms. Tap “Agree” to finalize the account. - Step 9: Choose Your Preferences
Decide whether to share activity with family, enable location services, and set up iCloud backup. - Step 10: Finish
Once the setup completes, you’ll see a welcome screen. You’re now signed in with your new Apple ID!
Common Issues & Troubleshooting
Even a straightforward process can hit snags. Here’s how to tackle the most frequent problems.
- Verification Code Not Received
Check spam or junk folders. Ensure your network connection is active. If still missing, tap “Didn’t get the code?” and request a new one. - Weak Password Message
Apple requires a minimum of 8 characters with a mix of letters, numbers, or symbols. Adjust accordingly. - Email Already in Use
If the address is linked to another Apple ID, either sign in with that account or use a different email. - Time Zone or Date Settings Off
Incorrect system time can cause verification failures. Sync your clock or set “Set Automatically” in Settings > General > Date & Time.
Managing Your Apple ID Settings on iPad
Once your account is active, you can fine‑tune settings directly from the device.
- Navigate to Settings > [Your Name] to view account information.
- Tap “Password & Security” to change your password or enable 2FA.
- Use “iCloud” to toggle backup, photo sync, and app data storage.
- Under “Media & Purchases,” manage subscriptions and payment methods.
- In “Find My,” enable location services for remote tracking.
FAQ
- Can I create an Apple ID on my iPad without a computer?
Yes, the entire process runs natively on iOS, so a computer isn’t necessary. - Do I need an Apple Store credit card to set up an Apple ID?
No. You can use a debit card or set up “Apple Pay Later” for purchases. - What if I forget my password?
Use the “Forgot password?” link on the sign‑in screen or visit appleid.apple.com to reset it. - Can I use a work or school email as my Apple ID?
Yes, as long as it’s a valid, active email address not already tied to another Apple ID.