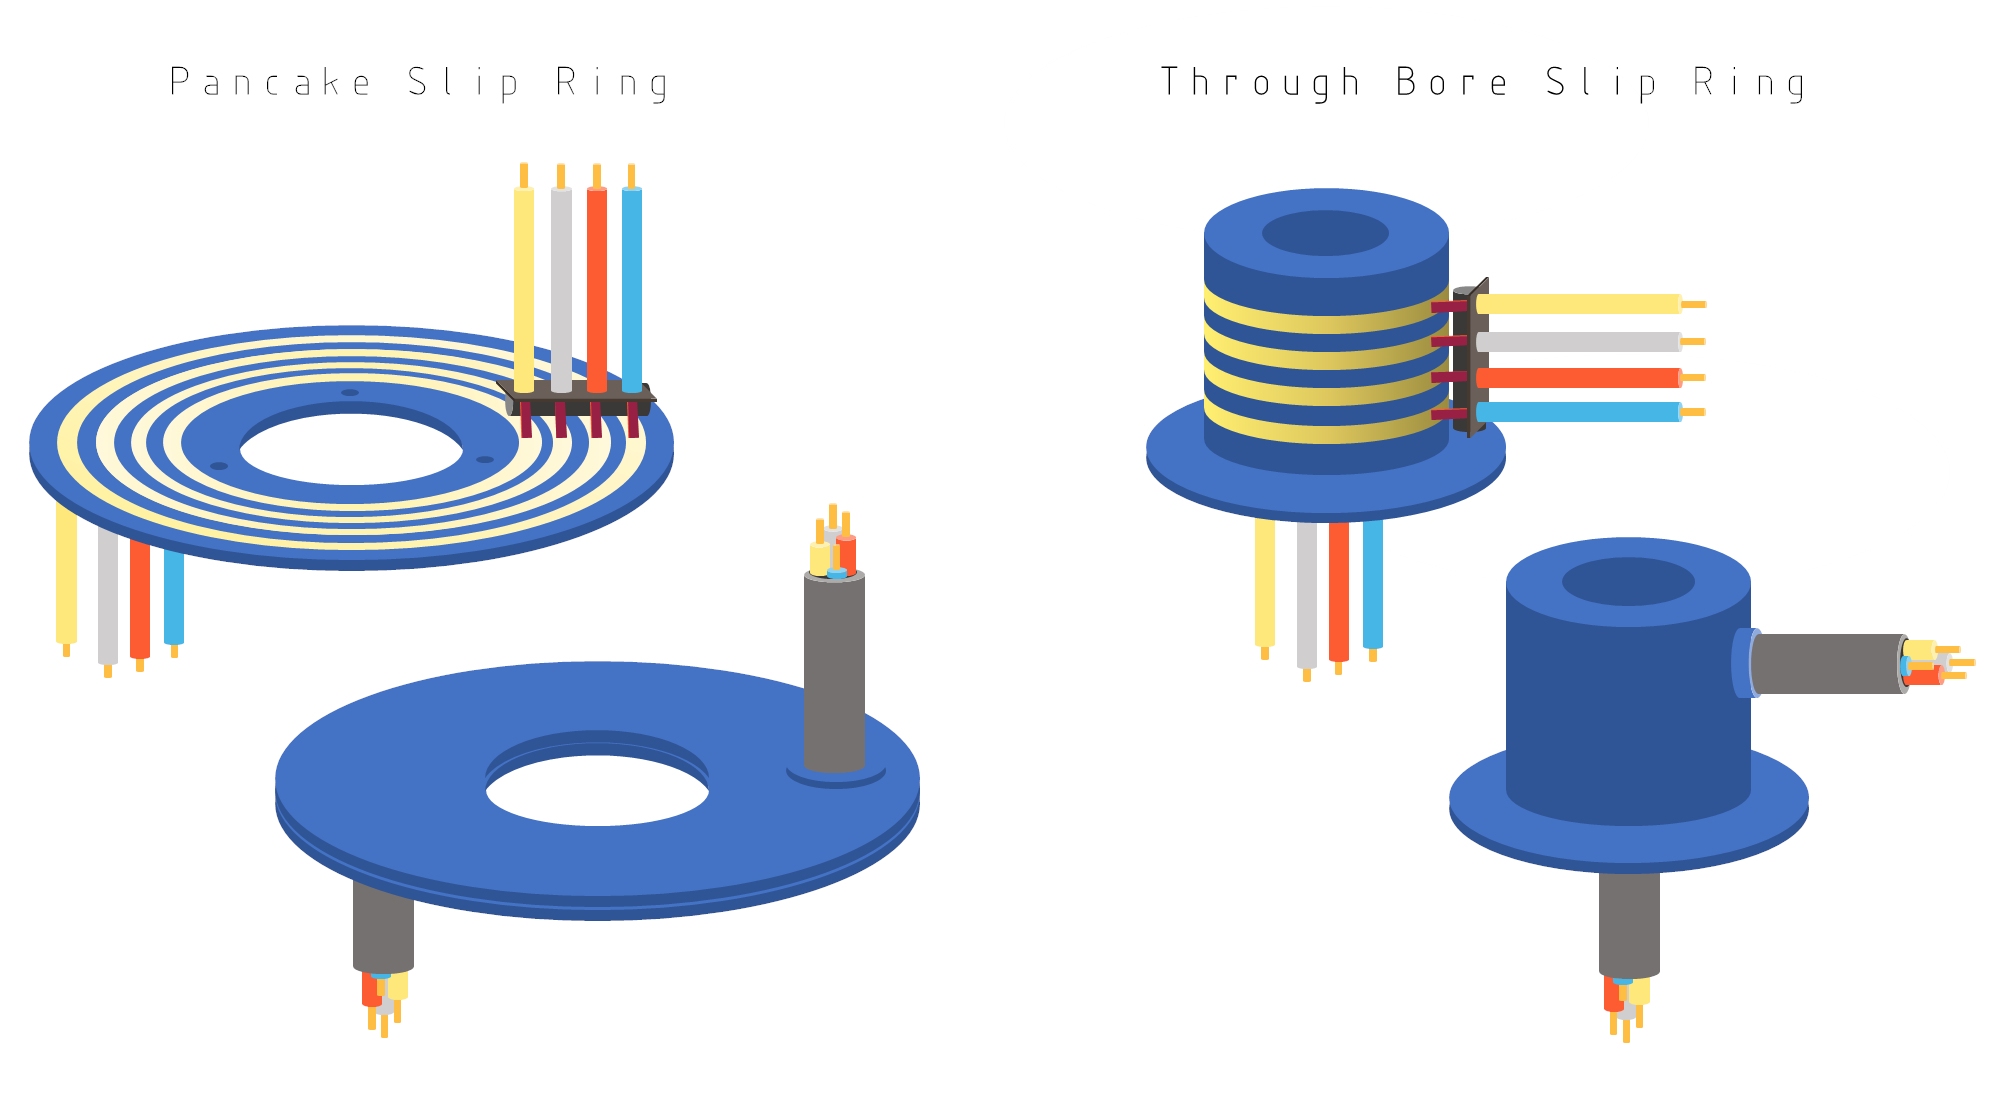
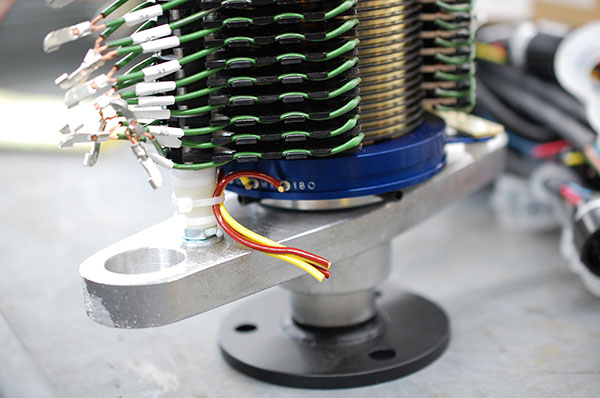
How to Build a DIY Slip Ring: Step‑by‑Step Electrical Guide
What a Slip Ring Actually Does
A slip ring is a clever electromechanical device that lets electricity cross a rotating joint without the wires getting tangled. Think of it as a tiny rotary connector that keeps power or signals flowing while a shaft spins—perfect for wind‑turbine generators, motorized camera rigs, or even hobby‑level robotics. The basic idea is simple, but getting a reliable, low‑noise result at home takes a bit of planning.
Gathering the Right Tools and Materials
- Two concentric metal rings (copper or brass work well)
- Insulating bushings or PTFE sleeves
- Non‑conductive shaft (aluminum or PVC)
- Wire (enameled copper for the rotor, stranded for the stator)
- Miniature bearings, a drill press, and a Dremel tool
- Heat‑shrink tubing, epoxy resin, and a multimeter
- Safety gear: goggles, gloves, and a ventilated workspace
Most of these items can be salvaged from old hard drives, electric fans, or small generators. The key is to choose materials that won’t wear out quickly—copper rings and PTFE insulation are the gold standard for hobbyists.
Step 1 – Designing the Core Structure
Start by sketching a simple cross‑section. The stationary part (the stator) holds one set of rings, while the rotating part (the rotor) carries the other. A common layout places the rings on opposite faces of a thin disc, each aligned with a matching bore in the shaft.
Measure the shaft diameter and select a bushing that fits snugly. This bushing will keep the rotor from wobbling and also provide the necessary electrical isolation. If you’re using a PVC shaft, you can tap a small groove to lock the bushing in place.
Step 2 – Preparing the Conductors
Cut the copper rings to a length that will wrap around the shaft once, leaving a few centimeters extra for solder tabs. Use a fine file to smooth any sharp edges; rough edges can bite into the insulation and cause intermittent contact.
For the rotor wires, strip a short section of enamel at each end and tin it with solder. This makes it easier to attach the wires to the ring later. The stator wires should stay stranded so they can flex as the shaft rotates.
Step 3 – Assembling the Rotating and Stationary Parts
Slide the bushing onto the shaft first, then position the rotor ring on the opposite side of the bushing. Secure the ring with a tiny set screw or a dab of epoxy—just enough to hold it without crushing the bushing.
Mount the stator ring on the outer housing or a stationary flange. Align the two rings so that their conductive surfaces face each other with only a thin air gap (or a layer of PTFE) separating them. This gap is where the electrical contact happens; keeping it uniform reduces noise.
Step 4 – Wiring and Insulation
Thread the rotor wires through tiny slots in the bushing, then solder each wire to its corresponding point on the rotor ring. On the stator side, solder the stranded wires to the stator ring’s tabs. Make sure every connection is clean—any excess solder can bridge the gap and short the circuit.
Cover all exposed metal with heat‑shrink tubing and a coat of epoxy. This not only protects the contacts from dust but also adds mechanical strength. Let the epoxy cure according to the manufacturer’s instructions before moving on.
Step 5 – Testing and Troubleshooting
Connect a low‑voltage power source (say, a 12 V DC supply) to the stator wires and use a multimeter to probe the rotor leads while manually turning the shaft. You should see a steady voltage reading that changes only with the rotation speed.
If the voltage fluctuates wildly, check the following:
- Is the air gap consistent around the entire circumference?
- Are any solder bridges shorting adjacent contacts?
- Is the bushing providing enough insulation?
Adjusting the ring alignment or adding a thin layer of conductive grease can sometimes smooth out erratic readings. Once the output is stable, you can scale the design up for higher currents or add multiple rings for extra channels.
Tips for Longevity and Performance
Even a well‑built DIY slip ring will wear over time. Rotating the shaft slowly during the first few hours helps the contacts settle. Periodically inspect the rings for corrosion—especially if you’re using the device outdoors.
For higher‑precision applications, consider polishing the rings to a mirror finish and using gold‑plated contacts. While that adds cost, it dramatically reduces contact resistance and noise.
Frequently Asked Questions
What’s the difference between a slip ring and a commutator?
A slip ring provides continuous contact for a single direction of current flow, whereas a commutator switches the direction of current in a DC motor. Slip rings are typically used for AC or signal transmission, while commutators are found inside brushed DC motors.
Can I make a slip ring without any metal rings?
In a pinch, you can use conductive carbon brushes on a smooth, non‑metallic disc, but the electrical performance won’t match a true metal‑on‑metal design. For hobby projects that only need low current, such improvisations can work.
How many circuits can a DIY slip ring handle?
Each pair of rings represents one circuit. By stacking multiple rings with proper insulation, you can create multi‑channel slip rings. Keep in mind that each added channel increases the mechanical complexity and potential for crosstalk.
Is epoxy the best way to secure the parts?
Epoxy offers strong adhesion and electrical insulation, making it a popular choice. However, high‑temperature applications may benefit from silicone or high‑temperature varnish, which can tolerate more heat without degrading.