How to Build an ESP32‑Powered LED Matrix: Step‑by‑Step Guide
Creating a scrolling marquee, a colorful wall display, or a simple game board can feel like a tall order—until you pair an ESP32 with a modest LED matrix. The combination gives you Wi‑Fi connectivity, plenty of GPIO pins, and enough processing muscle to drive animations without breaking a sweat. In this guide we walk through every decision, from picking the right hardware to flashing the firmware, so you can see your first ESP32 LED Matrix light up in under an hour.
What You’ll Need for an ESP32 LED Matrix
- ESP32 development board (any model with at least 30 GPIO pins works)
- 8×8 or larger LED matrix – common options are WS2812B (addressable) or traditional multiplexed matrices
- Power supply – a 5 V source capable of delivering 1 A for a 64‑LED matrix, more if you plan to scale up
- Level shifter or logic‑level converter (optional, but recommended for WS2812B when running from 5 V)
- Jumper wires or a small prototyping board
- Micro‑USB cable for programming the ESP32
- Arduino IDE (or PlatformIO) with the ESP32 board package installed
If you opt for a multiplexed matrix, you’ll also need a few N‑MOSFETs or a dedicated driver chip such as the MAX7219. For most hobbyists the addressable WS2812B strips are the easiest route because they require only a single data line.
Wiring the LED Matrix to the ESP32
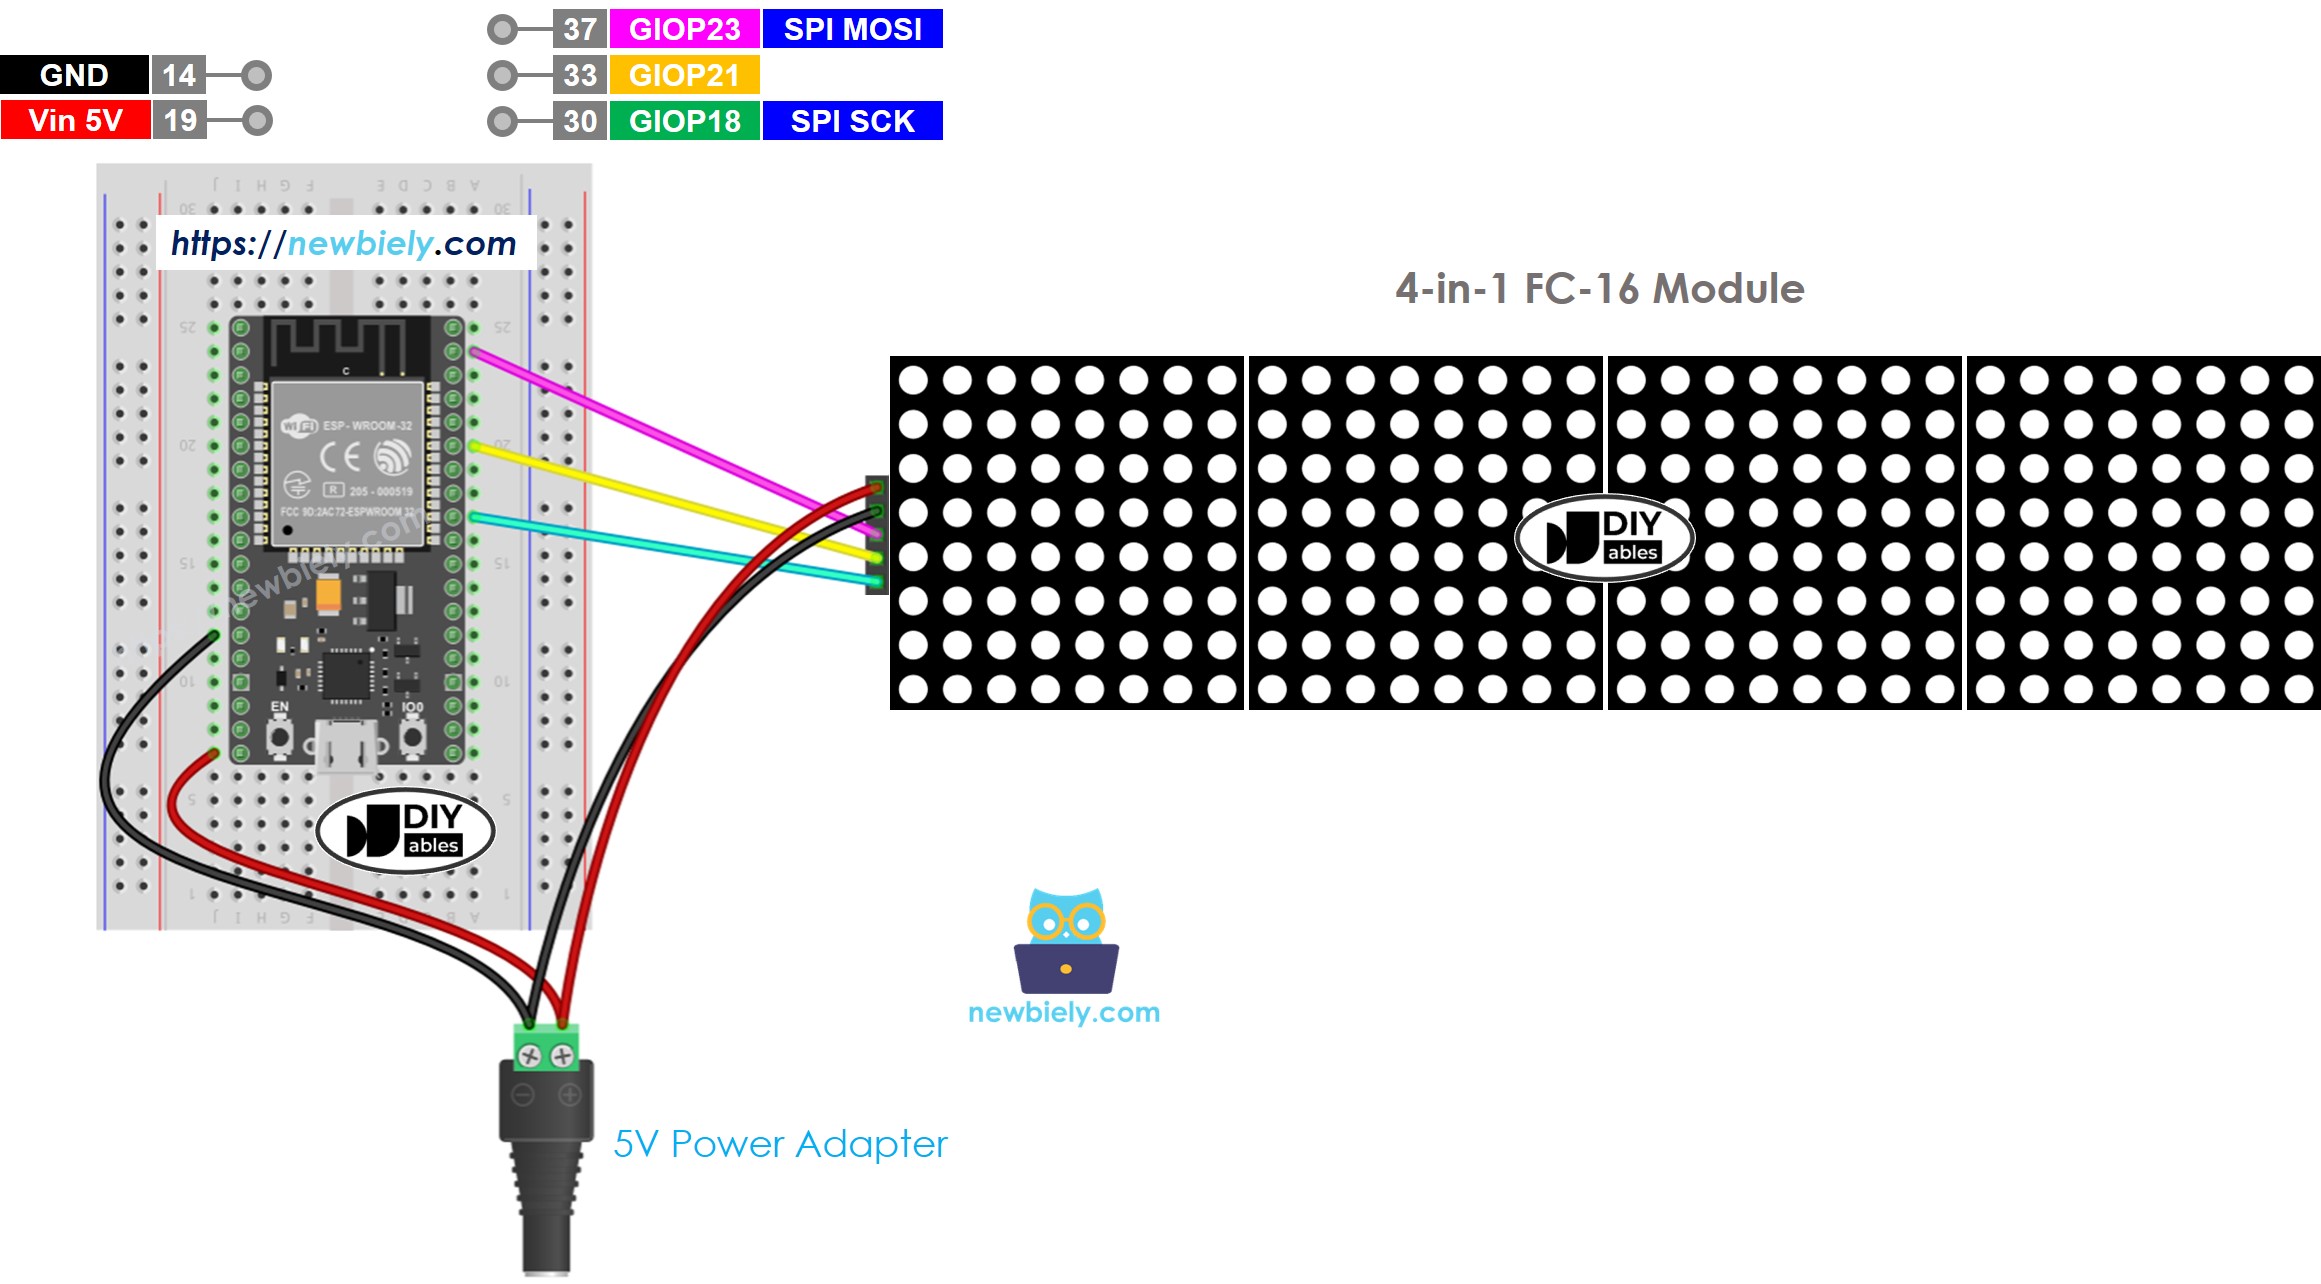
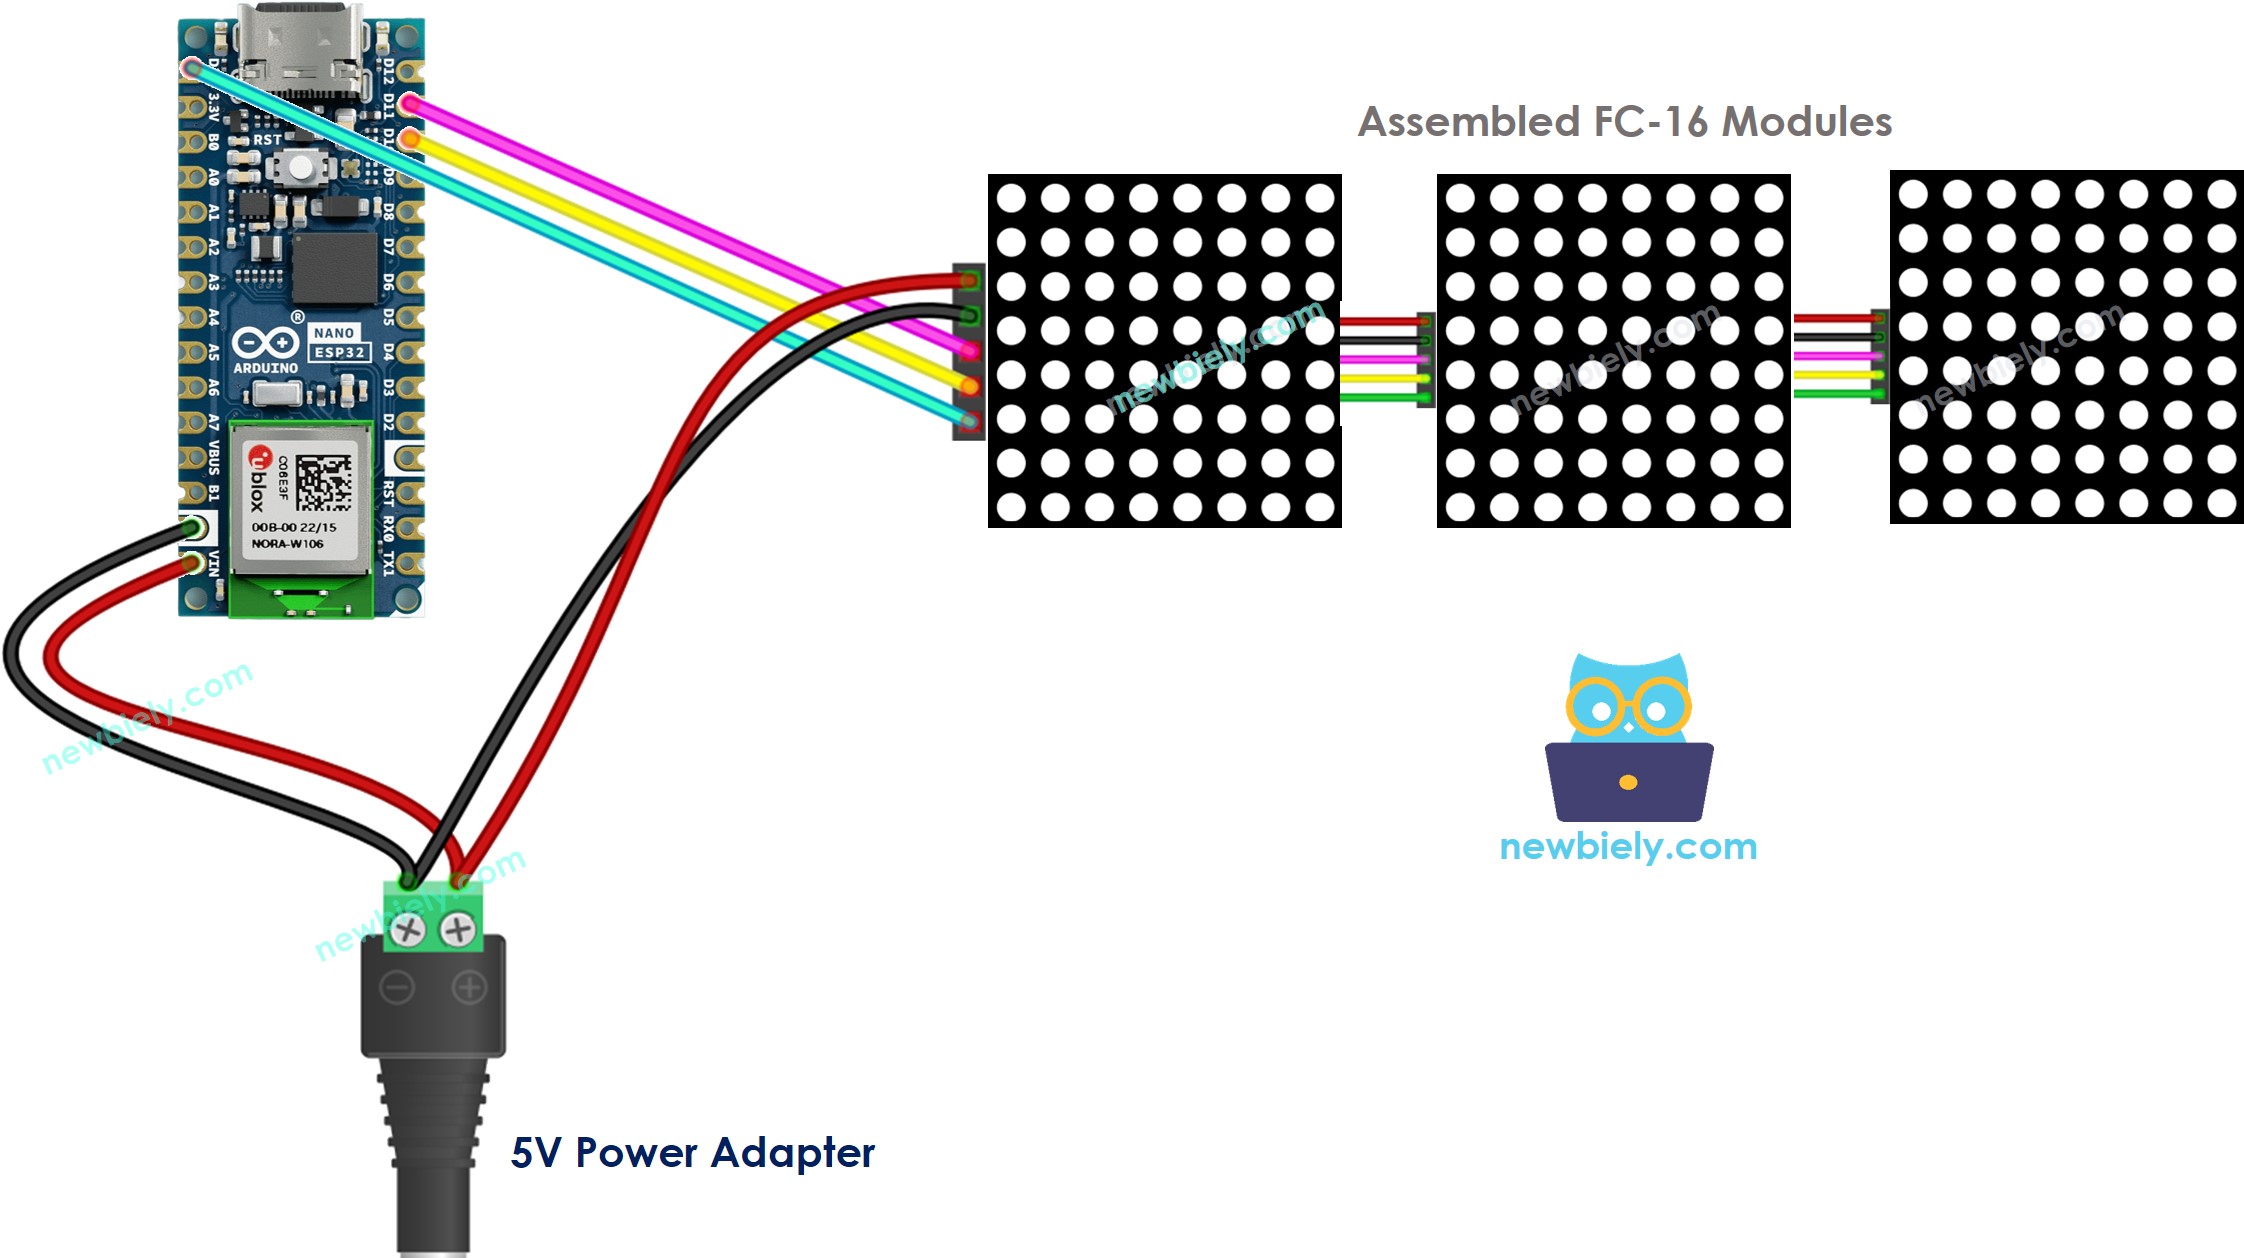
Start by powering the matrix directly from your 5 V supply rather than the ESP32’s onboard regulator; the ESP32 can’t source enough current for many LEDs. Connect the ground of the supply, the ESP32, and the matrix together to establish a common reference. For a WS2812B matrix, the wiring is simple:
- 5 V → VCC of the matrix
- GND → Ground of the matrix and ESP32
- Data‑In → One of the ESP32’s PWM‑capable pins (GPIO 18 works well)
If your supply runs at 5 V and the ESP32 operates at 3.3 V, place a 3.3 V‑to‑5 V logic level shifter between the ESP32 pin and the matrix’s data line. This prevents signal distortion that can cause flickering or dead LEDs.
Programming the Display
The Arduino ecosystem offers a handful of libraries that abstract away the timing‑critical bit‑banging required by WS2812B LEDs. The most popular choice is FastLED, which supports a wide range of effects and colour palettes. Follow these steps to get a basic animation running:
- Open the Arduino IDE, go to Sketch → Include Library → Manage Libraries, and install “FastLED”.
- Create a new sketch and define the number of LEDs. For an 8×8 matrix that’s 64 LEDs.
- Set the data pin to match the one you wired (e.g.,
#define DATA_PIN 18). - In
setup(), callFastLED.addLeds<WS2812B, DATA_PIN, GRB>(leds, NUM_LEDS)and set the brightness. - In
loop(), fill theledsarray with a colour pattern—perhaps a rainbow swirl—and callFastLED.show()to push the data.
A minimal example looks like this:
#include <FastLED.h>#define NUM_LEDS 64
#define DATA_PIN 18
CRGB leds[NUM_LEDS];
void setup() {
FastLED.addLeds<WS2812B, DATA_PIN, GRB>(leds, NUM_LEDS);
FastLED.setBrightness(100);
}
void loop() {
fill_rainbow(leds, NUM_LEDS, millis() / 10, 7);
FastLED.show();
delay(30);
}
Upload the sketch, power the matrix, and you should see a smooth, shifting rainbow across the grid. From here you can replace fill_rainbow with custom animations, text scrolling, or even sensor‑driven visualizations.
Testing and Troubleshooting
It’s normal to encounter a few hiccups the first time you power a dense LED array. Here are the most common symptoms and quick fixes:
- Flickering or random colours: Verify the data line isn’t too long; keep it under 30 cm if possible, or add a 470 Ω resistor in series.
- Only one colour appears: Check that the supply voltage remains steady under load; a sagging voltage will cause the LEDs to default to red or turn off.
- ESP32 resets during animation: This usually means the board is starving for power. Use a separate, adequately rated 5 V supply and ensure grounds are solid.
- Dead pixels: Individual LEDs can fail, especially if you over‑voltage them. Swap the faulty LED or, if you’re using a strip, cut out the bad segment and reseal the connections.
Running a simple “all‑white” test (setting every LED to CRGB::White) can help isolate wiring problems before you dive into complex code.
Tips for Expanding Your ESP32 LED Matrix Project
Once the basic 8×8 grid works, the sky’s the limit. Consider these upgrades to keep the momentum going:
- Increase resolution: Stitch together multiple 8×8 modules. The FastLED library treats them as a single long strip, so you only need to adjust the
NUM_LEDSconstant. - Add interactivity: Hook up a capacitive touch sensor or a small joystick to let users change patterns on the fly.
- Network control: Use the ESP32’s built‑in Wi‑Fi to serve a tiny web page where you can upload GIFs or send text messages that scroll across the matrix.
- Power management: If you plan to run the display from a battery, add a step‑up regulator and monitor the voltage to avoid brown‑outs.
Each of these ideas builds on the same core wiring and code principles, so you won’t need to start from scratch.
Frequently Asked Questions
Can I use a non‑addressable LED matrix with an ESP32?
Yes, but you’ll need a driver IC (like the MAX7219) or a set of transistors to multiplex rows and columns. The code becomes more timing‑sensitive, and libraries such as LedControl simplify the process.
What’s the safest brightness level for long‑term operation?
Running LEDs at 30‑40 % of their maximum brightness dramatically reduces heat and power draw while still looking vibrant. Adjust FastLED.setBrightness() accordingly.
Do I need a level shifter if my power supply is 3.3 V?
WS2812B LEDs typically require a 5 V supply, but some variants operate at 3.3 V. If you run the matrix at 3.3 V, a level shifter isn’t necessary, though you may lose some colour fidelity.
How can I display scrolling text?
The FastLED library includes a String helper that maps characters to a bitmap array. Combine it with a simple offset variable that increments each loop, and the text will appear to scroll across the matrix.