How to Calibrate a Digital Thermometer in Minutes
Whether you’re checking a baby’s temperature, monitoring a sous‑vide bath, or testing HVAC performance, the reliability of a digital thermometer hinges on proper calibration. Calibrating your digital thermometer isn’t a laboratory‑only task; with a few everyday tools you can keep readings spot‑on and avoid costly guesswork.
Why Calibrating Your Digital Thermometer Matters
Even the best‑priced models can drift over time due to battery fluctuations, sensor wear, or exposure to extreme temperatures. A thermometer that reads five degrees high might lead you to overtreat a fever or ruin a delicate cooking process. In professional settings—like food safety inspections or medical clinics—incorrect readings can have legal or health repercussions. A quick calibration check gives you confidence that the numbers you see are trustworthy.
When to Perform Calibration Checks
- After a battery change. New power can alter sensor voltage.
- Following a drop or impact. Physical shocks may misalign internal components.
- Periodically, based on usage. Heavy‑duty users should check monthly; occasional users can stretch to quarterly.
- Before critical measurements. If you’re about to start a medical trial or a precise cooking batch, take a moment to verify accuracy.
Tools You’ll Need
Most calibrations can be done with items you already have around the house. Gather the following before you start:
- A reliable reference thermometer (mercury, alcohol, or a certified digital model).
- Ice water and boiling water, or a temperature‑controlled bath.
- A small container for the ice bath and a sturdy pot for boiling water.
- A notebook or smartphone to note any adjustments.
If your thermometer offers a built‑in calibration function, the user manual will list the exact method. When in doubt, the ice‑water method works for almost any handheld device.
Step‑by‑Step Calibration Guide
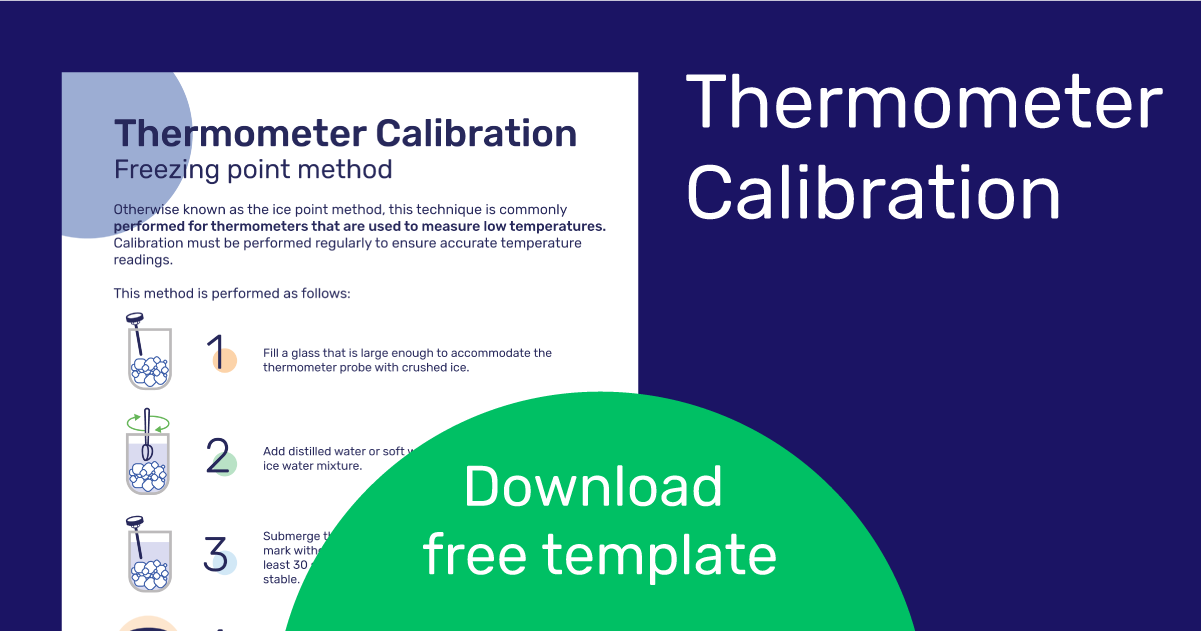
1. Prepare an Ice‑Water Bath
Fill a glass or metal cup with crushed ice, then add just enough cold water to cover the ice. Stir gently and let the mixture sit for a minute. The temperature should stabilize at 0 °C (32 °F). Use your reference thermometer to confirm the bath’s temperature; if it’s off by more than 0.2 °C, add more ice or water as needed.
2. Test the Digital Thermometer
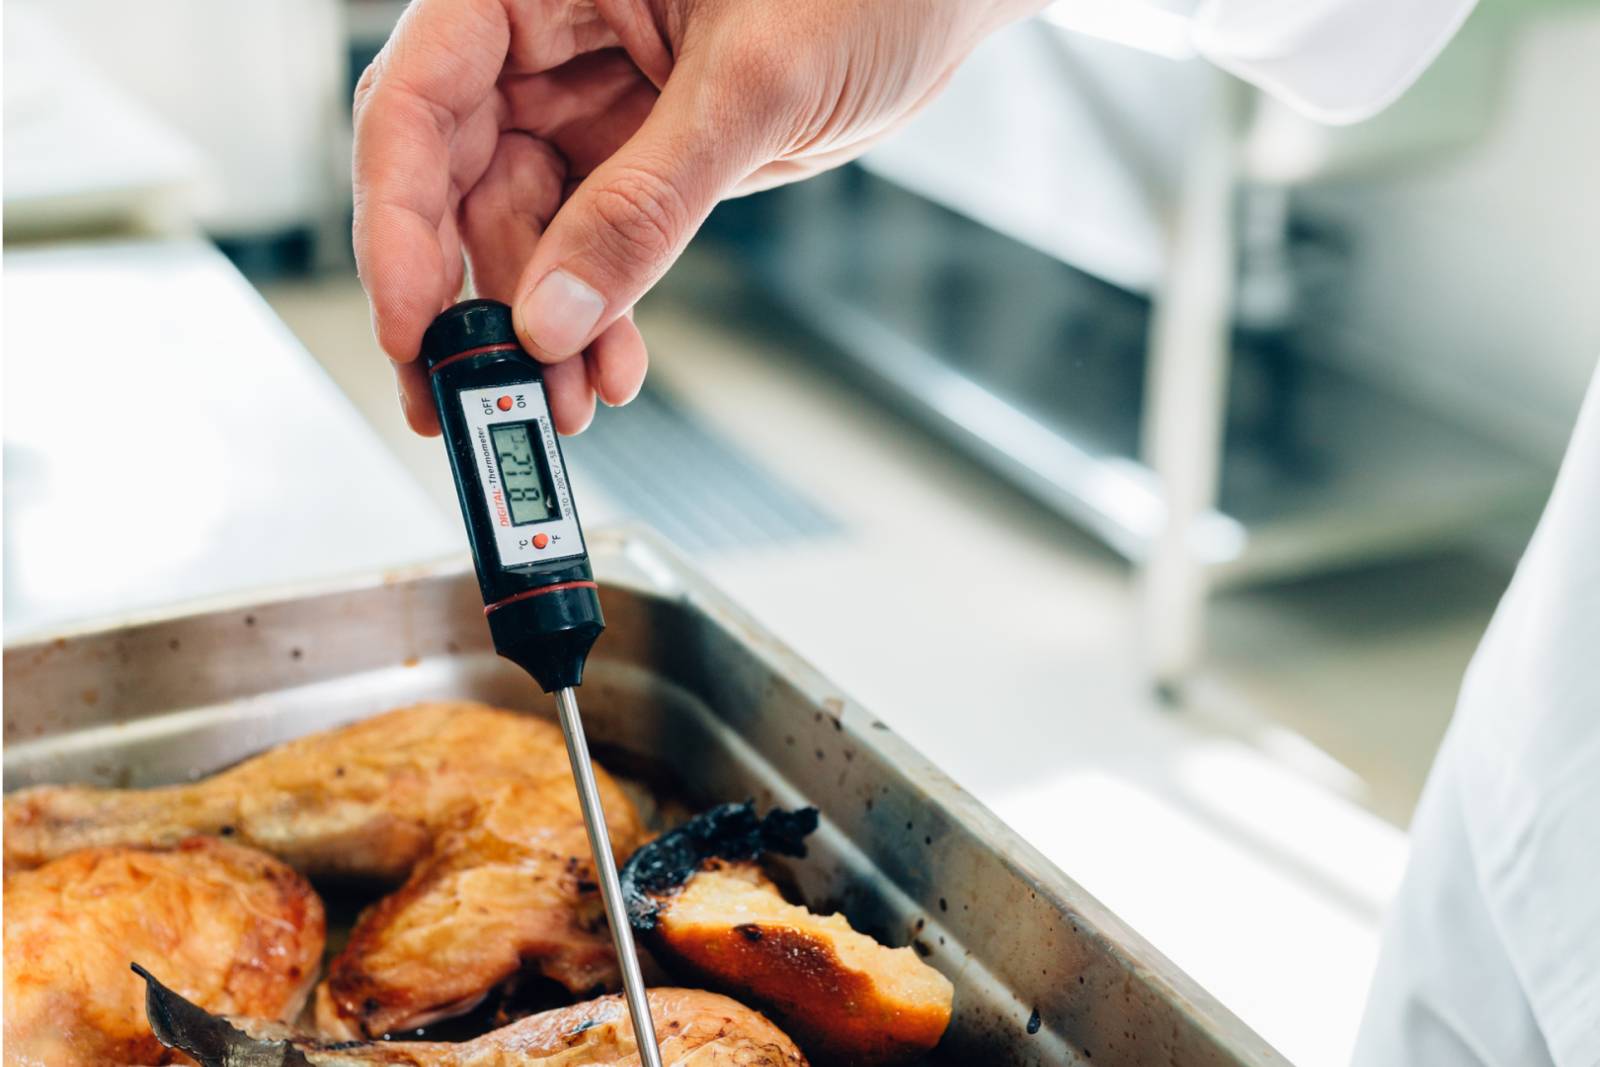
Insert the probe of your digital thermometer into the ice bath, ensuring it doesn’t touch the sides or bottom of the container. Wait for the reading to settle—usually 10‑15 seconds. Note the displayed temperature.
3. Adjust If Possible
Many consumer models feature a “reset” or “calibrate” button. Follow the manufacturer’s instructions: often you’ll hold the button while the device reads the ice‑bath temperature, then release to lock the correction. If your thermometer lacks a manual adjustment, you’ll need to remember the offset for future readings.
4. Verify with Boiling Water (Optional)
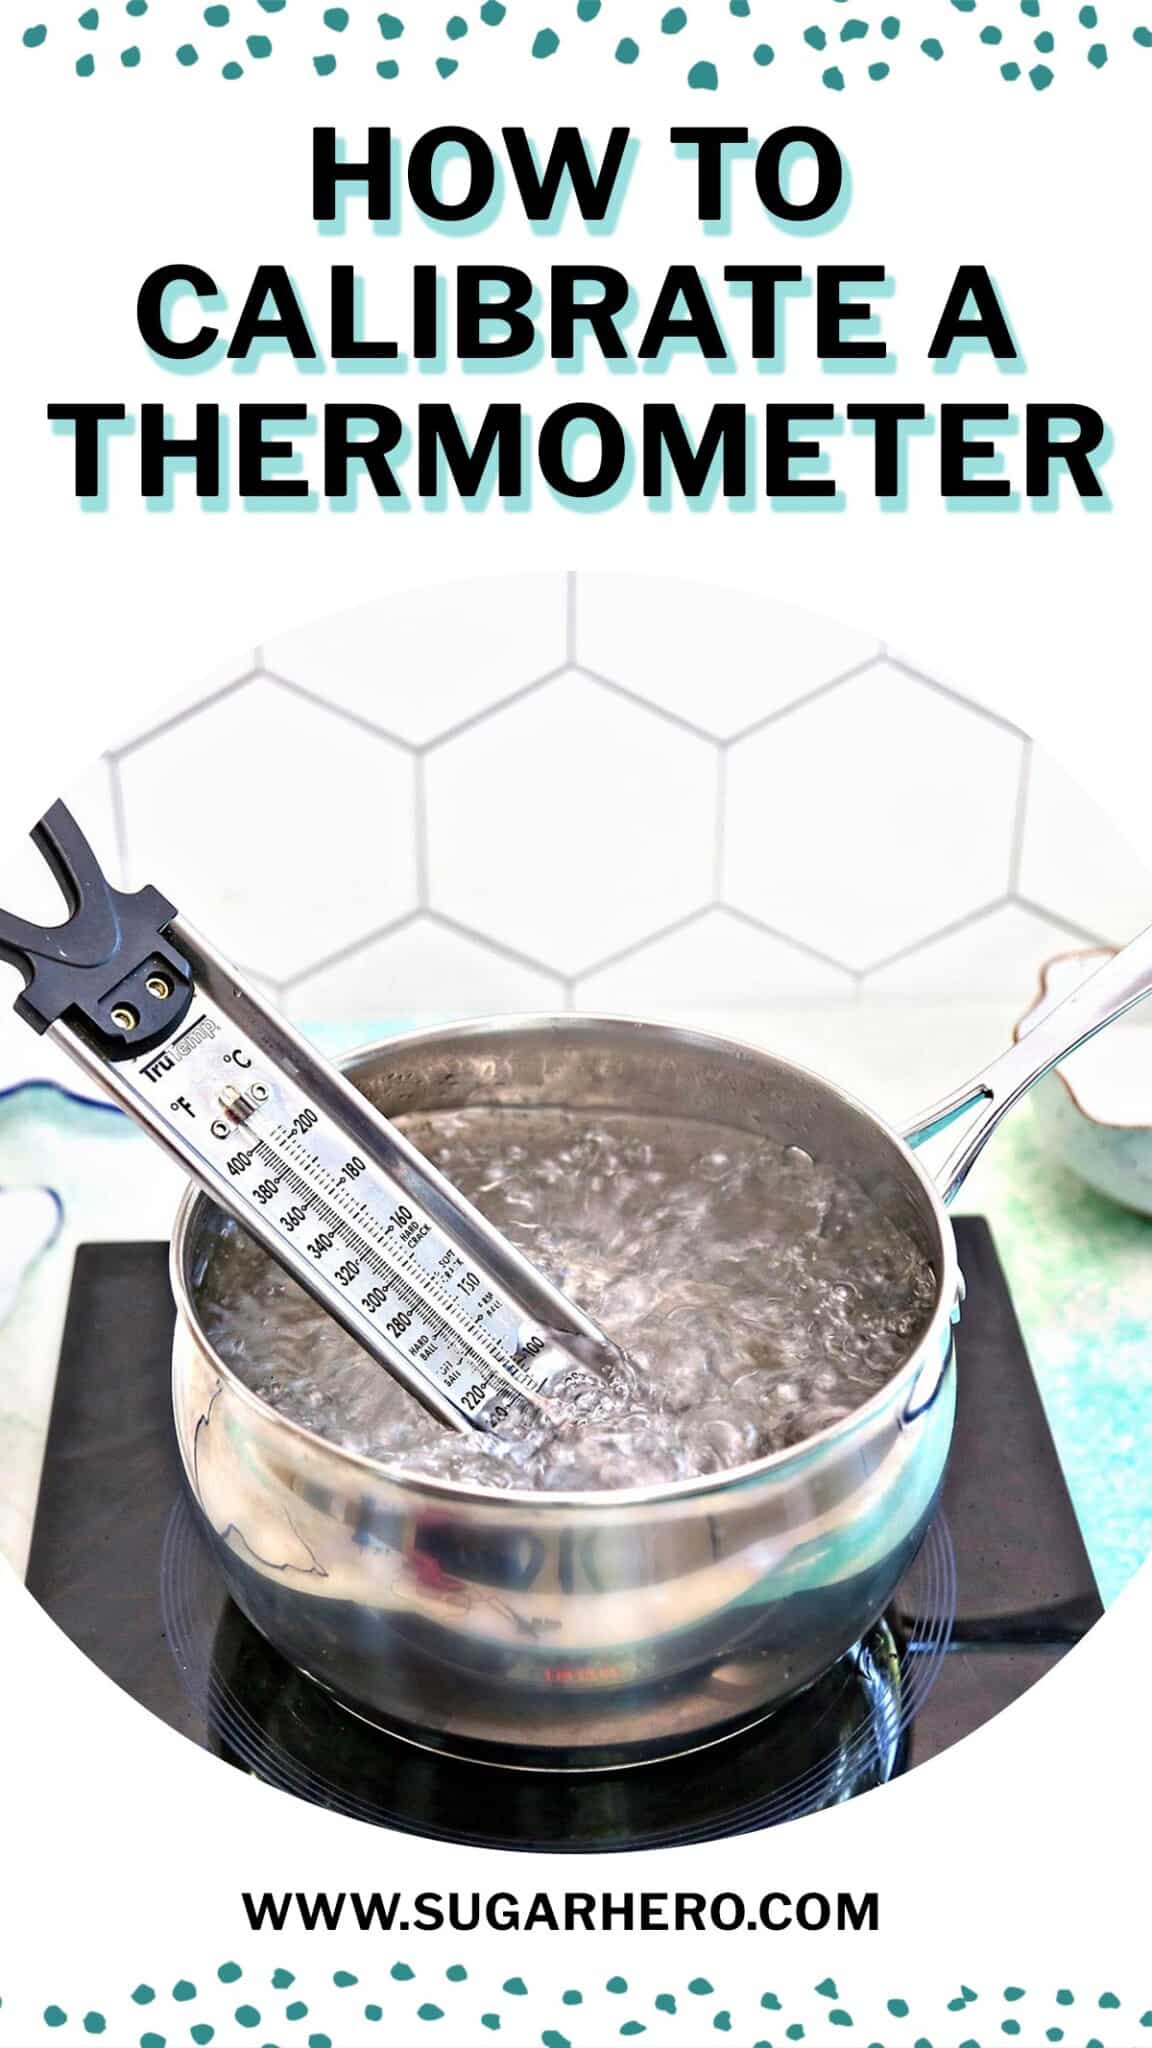
For a double‑check, bring a pot of water to a rolling boil. At sea level, the temperature should be 100 °C (212 °F). Insert the probe, avoid splashing, and let the reading stabilize. Compare it to the reference thermometer. Small deviations are normal—most devices are accurate within ±0.5 °C after proper calibration.
5. Record the Offset
If you couldn’t adjust the device directly, calculate the difference between the expected temperature (0 °C or 100 °C) and what your thermometer displayed. Keep that number handy; you can add or subtract it mentally when taking future measurements.
Common Pitfalls and How to Avoid Them
Using Warm Water for the Ice Test. Even a few degrees above freezing can skew the baseline. Always use a true ice‑water mixture.
Neglecting Altitude. Boiling point drops about 1 °C for every 300 m (≈1,000 ft) of elevation. If you live high above sea level, adjust the boiling‑water target accordingly.
Forgetting Sensor Position. Some probes are designed for immersion only up to a certain depth. Submerging too deeply can expose the sensor to heat from the container walls.
Relying Solely on Battery Power. Low batteries can cause sluggish response times and inaccurate readings. Replace them before each calibration session.
Maintaining Accuracy Over Time
After you’ve calibrated, treat the thermometer with care. Store it in a protective case, keep it away from direct sunlight, and avoid sudden temperature shocks. Schedule regular checks—especially if you notice readings drifting or after any mechanical impact.
Some advanced models allow you to download calibration logs via Bluetooth or USB. If your device supports it, reviewing these logs can reveal trends and tell you when a full recalibration or sensor replacement is due.
FAQ
Do I need a professional service to calibrate a digital thermometer?
Not for most handheld or kitchen models. The ice‑water method is accurate enough for everyday use. Professional calibration is reserved for high‑precision lab equipment.
Can I calibrate a thermometer that measures body temperature?
Yes, but remember that body‑temperature devices often have built‑in safety tolerances. Use a reference thermometer that’s certified for clinical use if you need medical‑grade accuracy.
What if my thermometer doesn’t have a calibration button?
Simply note the offset during the ice‑water test and apply that correction mentally or with a quick spreadsheet formula each time you record a temperature.
How often should I replace the sensor?
Sensors can degrade after several years of heavy use. If repeated calibrations no longer bring the reading within ±0.5 °C of the reference, consider a replacement.