How to Convert Hatch to Polylines in AutoCAD – An Easy Guide
Decoding hatch to polyline in AutoCAD can feel like unraveling a puzzle, especially when you need clean vector outlines for CNC, plotting, or editing. Fortunately, the process isn’t as cryptic as it sounds. Below you’ll find a step‑by‑step walk‑through, plus a handful of tips to keep the conversion smooth and error‑free.
Why Convert Hatches to Polylines?
- Precision editing: Polylines let you snap, trim, and offset with full control.
- Export friendliness: Many downstream programs (GIS, CAM, 3‑D printers) accept only vector geometry.
- File size reduction: Removing raster‑based hatch data can shrink large drawings.
Preparing Your Drawing
Before you hit any commands, make sure the hatch objects are on a layer you can isolate. Turn off other layers, or use Layer Isolate (LA, then I) to avoid accidental selection of unrelated entities. It’s also wise to save a backup copy—once you explode a hatch, the original pattern is gone.
Method 1: Using the “HATCHEDIT” and “BOUNDARY” Tools
This approach works best when the hatch is simple and its boundary is a closed shape.
- Select the hatch and type
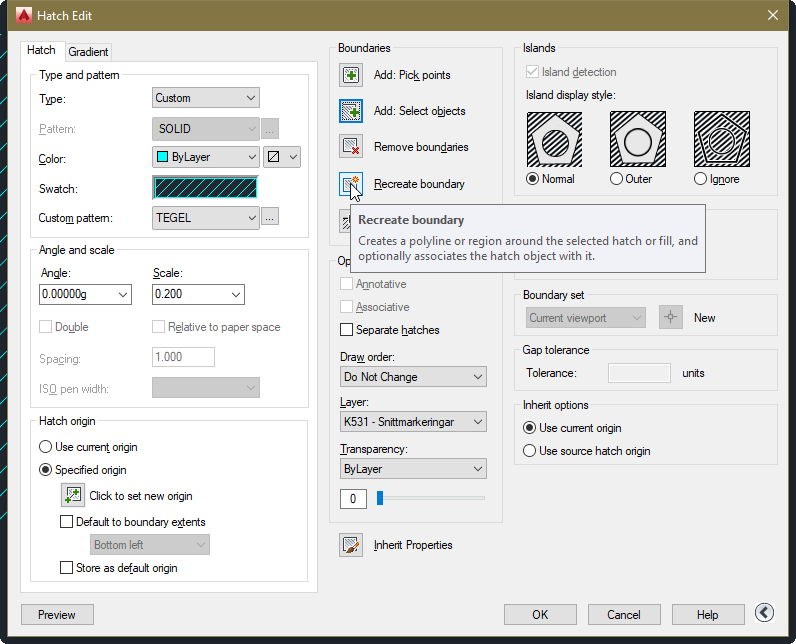
HATCHEDIT. In the dialog, click Boundary Set and then Pick Points. Click inside the hatch to let AutoCAD compute the boundary. - Close the dialog. The hatch now carries an internal boundary definition you can extract.
- Type
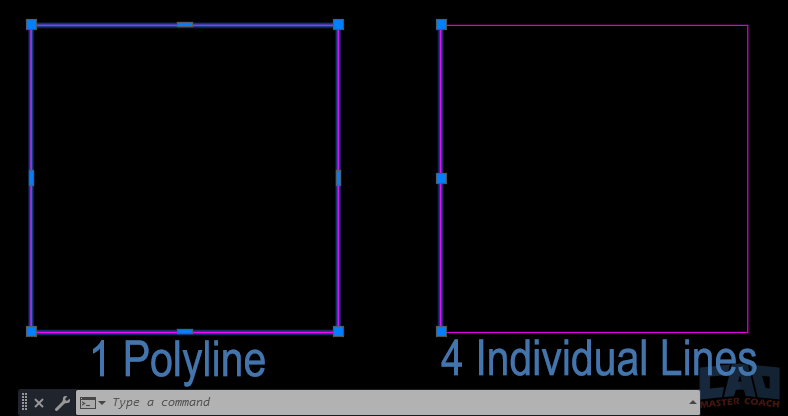
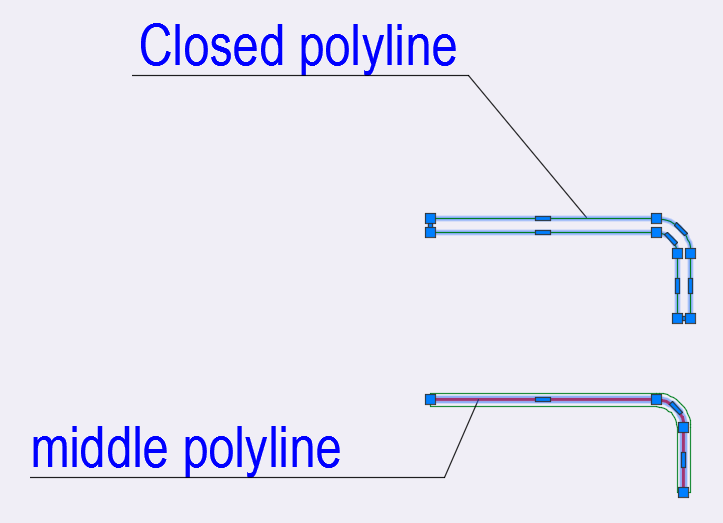
BOUNDARY(or use the Boundary button on the Home tab). Click inside the hatch again; AutoCAD creates a polyline that follows the computed edge. - Delete the original hatch if you no longer need it.
Method 2: Explode and Clean Up
If the hatch contains complex patterns or multiple loops, exploding may be quicker, but it leaves a mess of linework that you’ll need to tidy.
- Select the hatch and type
EXPLODE. The hatch becomes a collection of individual lines and arcs. - Run
PEDITon the resulting geometry. Choose the Join option and set a small tolerance (e.g., 0.001) so adjacent segments snap together. - After joining, use
OVERKILLto purge duplicate lines and simplify the polyline. - Optionally, convert the cleaned shape to a true polyline with
CONVERT> Polyline.
Method 3: Using a LISP Routine (For Power Users)
Many seasoned drafter’s prefer a custom LISP that automates the steps above. Here’s a minimal example you can paste into the Command line:
(defun c:H2P (/ ent ss)
(setq ss (ssget '((0 . "HATCH"))))
(if ss
(repeat (setq i (sslength ss))
(setq ent (ssname ss (setq i (1- i))))
(command "_.-HATCHEDIT" ent "_B" "_P" "" "_C")
(command "_.BOUNDARY" "" ent "")
)
(princ "No hatches selected.")
)
(princ)
)
Run H2P after loading the routine. It loops through selected hatches, extracts boundaries, and creates polylines in one go.
Tips for a Smooth Conversion
- Check for gaps: Some hatch boundaries contain tiny gaps that prevent
BOUNDARYfrom forming a closed polyline. Zoom in and useFILLETwith a tiny radius to close them. - Set appropriate tolerance: When joining exploded lines, a tolerance that’s too large can merge unintended edges; too small leaves gaps. Test with a sample before applying to the whole drawing.
- Maintain layer organization: After conversion, move the new polylines to a dedicated layer (e.g., “_Hatch_Polylines”) to keep your drawing tidy.
Exporting the Result
Once you have clean polylines, exporting to formats like DWG, DXF, or SVG is straightforward. Use EXPORT or SAVEAS and choose the desired file type. Remember to select “Export objects as polylines” if the target software offers that option.
FAQ
Q: Will converting a hatch to a polyline change its appearance?
A: The visual result stays the same, but the hatch’s pattern data disappears, leaving only the outline.
Q: Can I revert a polyline back to a hatch?
A: Yes. Select the polyline, type HATCH, choose a pattern, and AutoCAD will fill the enclosed area.
Q: Does the BOUNDARY command work on hatched text objects?
A: It works on any closed hatch, but text often has open contours that need manual fixing before conversion.
Q: Is there a way to batch‑convert many hatches at once?
A: The LISP routine above handles multiple selections; you can also record a macro that repeats the BOUNDARY steps for each hatch.