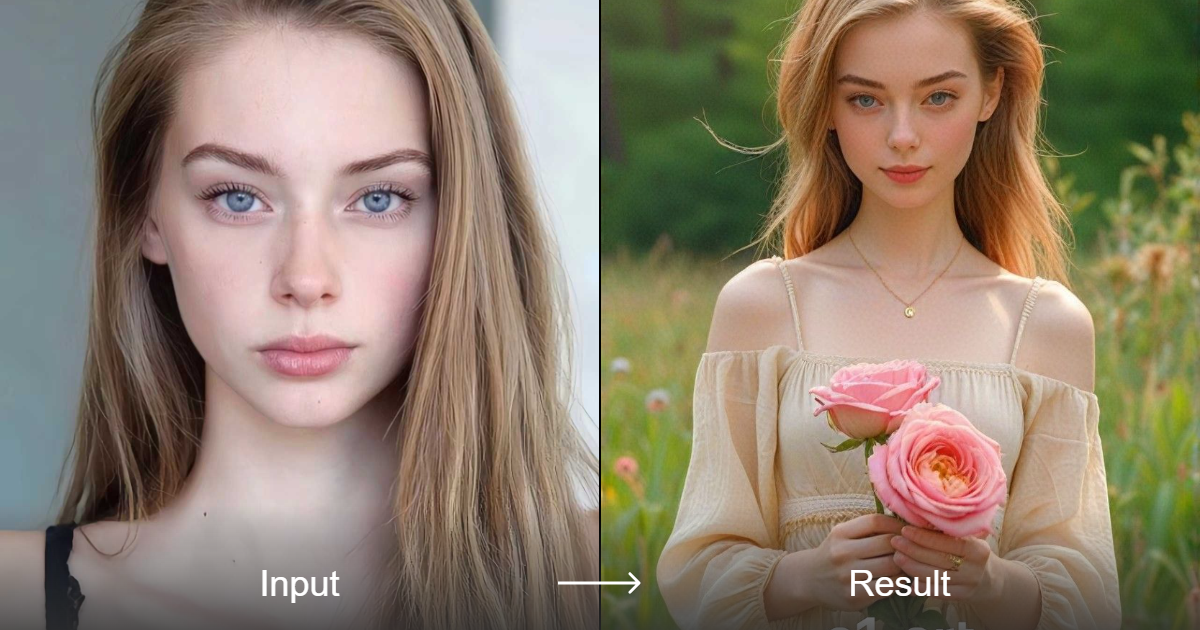
How to Craft Vintage‑Style Photos Without the Hassle
Why Vintage Aesthetics Still Captivate
There’s something timeless about a picture that looks like it was taken decades ago. Whether it’s the warm sepia tones, the soft grain, or the subtle vignette, a vintage finish can turn an ordinary snap into a story‑laden keepsake. Today’s smartphones and editing apps make that look accessible to anyone, even if you have no background in film photography.
Choosing the Right Tools
Before you dive into the creative process, pick a tool that matches your workflow. Mobile apps like Snapseed, VSCO, or Lightroom Mobile offer one‑tap presets that emulate classic film stocks. Desktop software such as Adobe Photoshop, Affinity Photo, or the free GIMP give you deeper control over texture, colour curves, and dust overlays. If you prefer a browser‑based solution, sites like Fotor or Pixlr provide decent vintage filters without any installation.
Step‑by‑Step Guide to a Vintage Look
Even the most straightforward preset can be tweaked for a personal touch. Follow these steps to ensure your image feels genuinely aged rather than simply “filtered”.
1. Start with a Good Base Photo
- Shoot in natural light whenever possible; harsh shadows can become exaggerated when you add grain.
- Avoid extreme over‑exposure – vintage film tends to retain detail in highlights.
- If you’re working from a digital file, consider converting it to a 3:2 aspect ratio, which mirrors many classic cameras.
2. Adjust Colour Balance
Classic film often leans toward warm amber or cool teal tones, depending on the era. Use the colour‑temperature slider to shift the hue slightly toward yellow or cyan. For a 1970s vibe, push the mid‑tones a bit toward orange; for a 1950s portrait, a subtle magenta tint can add that nostalgic feel.
3. Add Grain and Texture
Grain is the hallmark of analog film. In Lightroom, the “Grain” slider under the Effects panel can be set to a low‑medium value for a subtle effect, or cranked up for a gritty, high‑ISO look. In Photoshop, add a new layer filled with 50% gray, set the blending mode to “Overlay”, and apply a “Noise” filter – then tweak the opacity until it feels just right.
4. Introduce Vignette and Light Leaks
A gentle vignette draws the eye inward and mimics the lens shading of older cameras. Most apps include a vignette control; aim for a darkening of 5‑10% at the corners. Light leaks—those accidental flares that appear on film—can be simulated by overlaying a soft‑edge brush of bright colour (often orange or pink) and setting the layer to “Screen”.
5. Apply a Soft Blur or Film‑Specific Sharpening
Older lenses weren’t as razor‑sharp as modern optics. A modest “Gaussian Blur” (around 0.3‑0.5 px) applied to the background can emulate that characteristic depth‑of‑field. Conversely, a slight “Unsharp Mask” on the subject can replicate the unique micro‑contrast of film emulsions.
6. Finish with a Vintage Border (Optional)
If you want to go the extra mile, add a thin white border to mimic printed photos or a textured edge resembling old photo paper. This step is purely aesthetic but can enhance the overall nostalgia.
Tips for Different Types of Images
Not every photo benefits from the same vintage treatment. Here are a few quick guidelines:
- Portraits: Keep skin tones warm but avoid excessive orange that looks artificial. A subtle matte finish works well.
- Landscapes: Emphasise colour shifts—think faded greens and dusty blues—to evoke an old postcard feel.
- Street scenes: High contrast grain and strong vignette can give the impression of a gritty, film‑era documentary.
Preserving the Original While Experimenting
Always keep a copy of the unedited photo. Most editing programs let you create virtual copies or duplicate layers, so you can experiment without risking the original file. This habit also makes it easy to compare before‑and‑after results and decide whether the vintage effect enhances or overwhelms the image.
Sharing Your Vintage Creations
When you’re satisfied, consider the platform you’ll share on. Instagram’s algorithm tends to favour bright, high‑contrast images, so you might want to create a slightly less muted version for that channel while keeping a richer, more authentic vintage version for personal archives or print.
Common Pitfalls to Avoid
It’s tempting to over‑apply every vintage element at once. The most convincing results usually come from restraint. Too much grain can make details disappear, while an aggressive vignette can obscure the subject. If you find yourself “stuck” on a look, step away for a few minutes and return with fresh eyes.
FAQ
Q: Can I achieve a vintage look without any software?
A: Yes. Using physical filters on a camera, shooting with expired film, or printing photos on matte paper can naturally produce aged tones. Digital tools simply make the process faster and more flexible.
Q: Which film stock is best to emulate for a classic look?
A: Popular choices include Kodak Portra for warm skin tones, Fuji Velvia for vivid landscapes, and Ilford HP5 for gritty black‑and‑white images. Most apps include presets named after these stocks.
Q: Does adding grain reduce image quality?
A: Grain is a visual texture, not a loss of resolution. It can mask minor imperfections, but if you apply it heavily on a low‑resolution image, the result may appear blurry rather than authentically grainy.