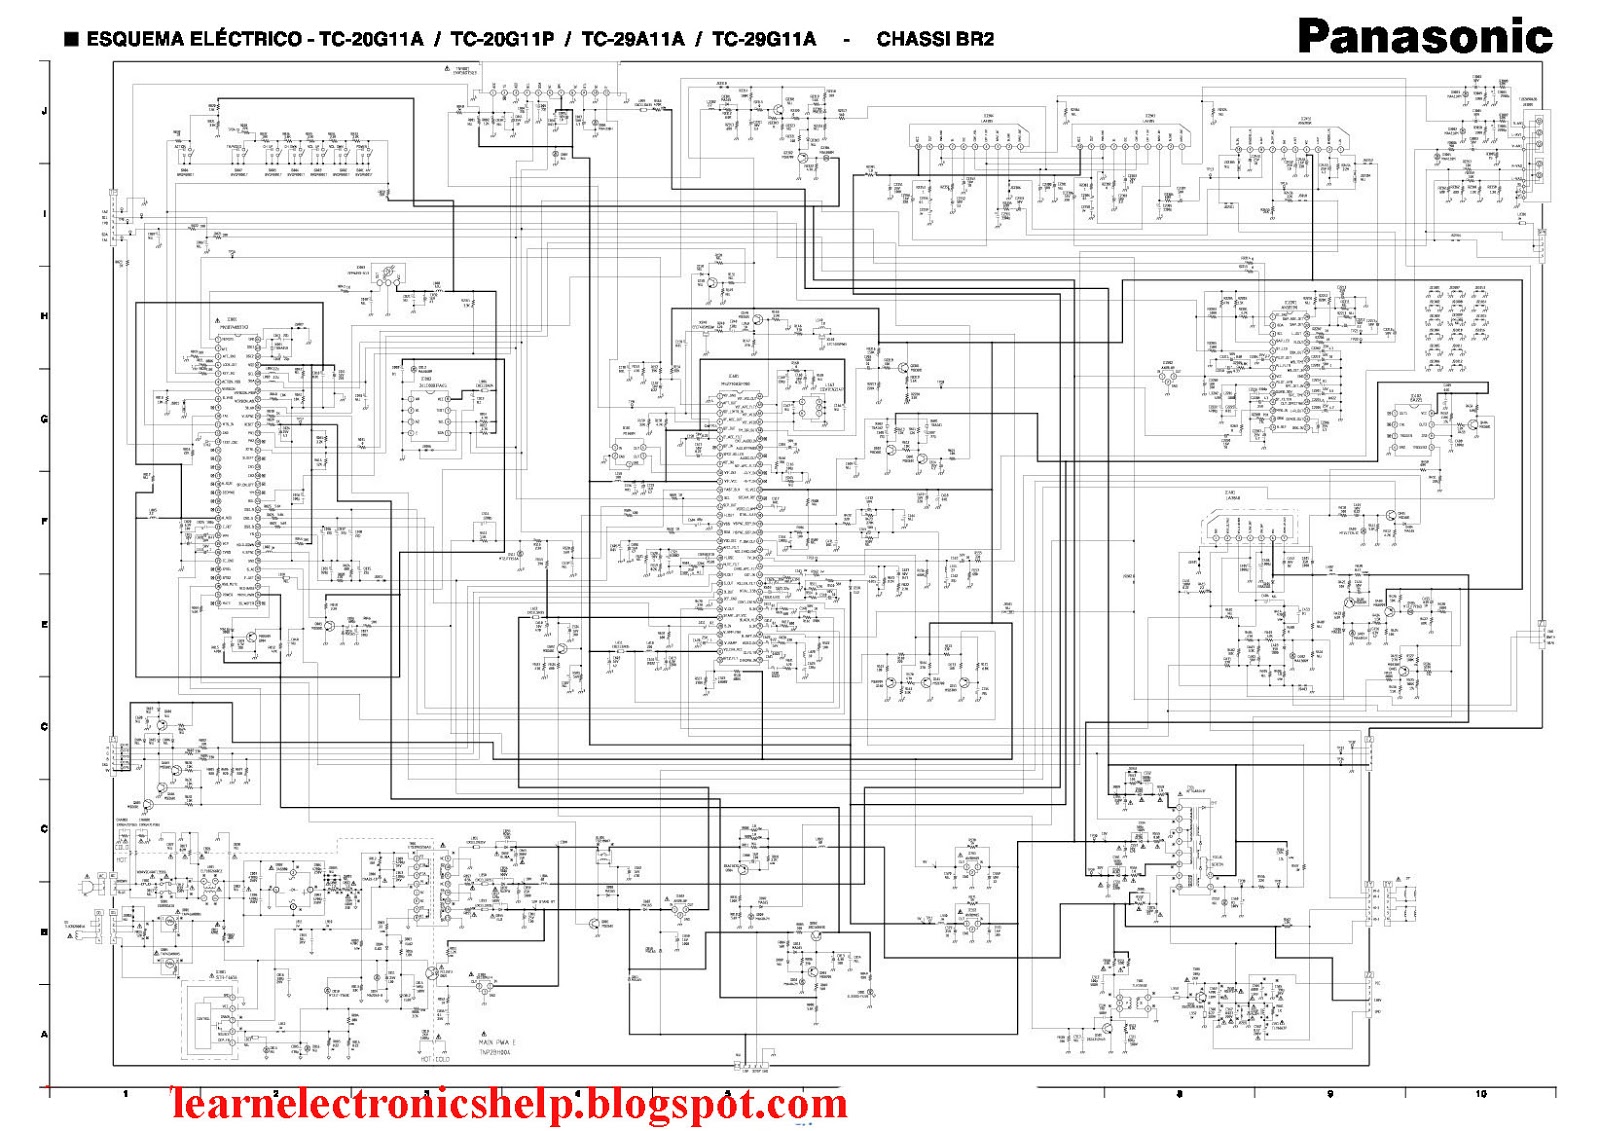
How to Fix Power IC Issues in Panasonic LED TVs
When a Panasonic LED TV suddenly refuses to turn on or displays a flickering screen, the culprit is often the power integrated circuit (IC). This tiny component controls the voltage that drives the panel, and a failure can make the whole set feel dead. Below is a practical guide that walks you through diagnosing the problem, gathering the right tools, and swapping the IC safely.
Understanding the Power IC in Panasonic LED TVs
The power IC, sometimes labeled as a “PWM driver” or “power management IC,” sits on the main board and regulates the high‑voltage rails that light the LED backlight. In most Panasonic models, the chip is a surface‑mount device (SMD) soldered directly onto the board, making visual inspection a bit tricky. Its job is to translate the low‑voltage input from the mains transformer into the precise pulses needed for the LED array and the TV’s logic circuits.
Common Symptoms of a Faulty Power IC
- TV powers on briefly, then shuts off after a few seconds.
- Black screen with no picture, but the speaker still produces sound.
- Random flickering or dimming of the backlight.
- Burnt smell or visible discoloration around the main board.
- Inconsistent power‑on behavior after a power outage.
If you notice any of these signs, the power IC is a prime suspect, though it’s wise to rule out blown fuses or faulty capacitors first.
Tools and Safety Precautions Before You Start
- Phillips and Torx screwdrivers – for opening the rear panel.
- Soldering iron with a fine tip (temperature around 350 °C) and desoldering braid – to remove the old IC.
- Hot air rework station (optional but highly recommended for SMD work).
- Multimeter – to check voltages and continuity.
- Anti‑static wrist strap – to protect sensitive components.
- Safety glasses and a well‑ventilated workspace.
Always unplug the TV and let the internal capacitors discharge for at least five minutes before touching any circuitry. If you’re unsure about handling high‑voltage sections, it’s safer to seek professional help.
Step‑By‑Step Repair Process
1. Diagnose the Issue
Start by measuring the voltage at the power input connector. A healthy board will show around 12 V on the standby line and 5 V on the logic rail. If these are absent, the fault likely lies upstream of the power IC. Next, locate the IC – it’s usually a rectangular chip marked with a part number like “STC89C52” or “TPS5430.” Compare its appearance with a reference photo from a service manual; any scorch marks or cracked solder joints are red flags.
2. Discharge Capacitors
Even after unplugging, large electrolytic capacitors can retain charge. Use a resistor (10 kΩ, 5 W) to safely bleed off any residual voltage. Touch the resistor leads across the capacitor leads for a few seconds, then verify with a multimeter that the voltage reads near zero.
3. Remove the Faulty Power IC
If you have a hot‑air station, set it to a low‑flow setting and gently heat the chip’s pins until the solder melts. Lift the component with tweezers once the solder is fluid. For those without hot air, apply solder wick to each pin and carefully desolder the chip one pin at a time. Patience is key; excessive force can damage the board traces.
4. Install the Replacement IC
Clean the pads with isopropyl alcohol and a soft brush. Position the new IC using a pair of fine tweezers, making sure the orientation matches the original marking. Apply a modest amount of solder paste to the pads, then re‑heat with the hot‑air gun until the solder flows evenly. Inspect under a magnifying lamp to confirm all pins are properly wetted and no bridges exist.
5. Reassemble and Test
Re‑attach any shielding or heat‑sink components you removed, then close the rear panel. Plug the TV back in and turn it on. You should see the power‑on sequence complete without the previous shutdowns. If the picture appears but the backlight remains dim, double‑check the LED driver connections – the power IC replacement may have shifted a connector.
When to Call a Professional
Even with careful work, some failures involve more than the power IC. For example, a shorted transformer or a damaged main board trace may require specialized equipment. If you encounter blown fuses that re‑trip immediately after replacement, or if the TV exhibits smoke or a strong odor during the first power‑on, stop and let a certified technician take over. Attempting further repairs without proper training can pose a serious safety risk.
Frequently Asked Questions
Can I replace the power IC myself if I have no soldering experience?
It’s possible, but the process involves fine‑pitch SMD work that many beginners find challenging. If you’re uncomfortable with hot‑air tools or have never desoldered a chip, practice on an old board first or consider professional assistance.
How much does a replacement power IC cost?
Prices vary by model, but most Panasonic power ICs range from $5 to $20 when sourced from reputable electronics suppliers. Keep in mind you may also need new solder paste or a small amount of flux.
Will fixing the power IC void my TV’s warranty?
If the TV is still under the manufacturer’s warranty, opening it typically voids that coverage. For out‑of‑warranty units, the repair cost is usually far lower than buying a new set.
Is there a way to test the power IC without removing it?
A multimeter can check for shorted pins, but a definitive diagnosis often requires visual inspection and functional testing after removal. In many cases, replacing the suspected bad IC is the quickest way to confirm the fault.