How to Inspect Your NVIDIA Control Panel: A Quick, Practical Guide
Why You Should Check Your NVIDIA Control Panel
Whether you’re a gamer, a designer, or just someone who wants the best performance from your PC, the NVIDIA Control Panel is the command center for your graphics card. It lets you adjust everything from resolution and refresh rate to 3D settings, and it often contains hidden tweaks that can improve visual fidelity or power consumption. Knowing how to locate and use the panel means you’re in control of your GPU’s behavior without digging into third‑party tools.
Check Your NVIDIA Control Panel: Where to Find It
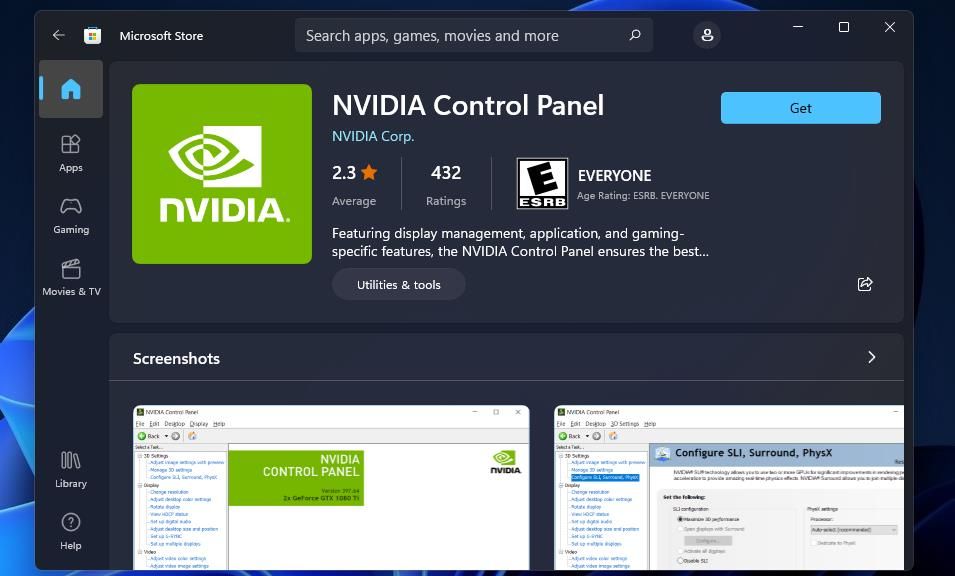
Finding the Control Panel is usually a one‑step process. Right‑click an empty spot on your desktop, then select “NVIDIA Control Panel” from the context menu. If the option is missing, double‑check that you have an NVIDIA GPU and that the drivers are installed. On Windows 10 or 11, you can also search for “NVIDIA Control Panel” in the Start menu.
Getting Oriented: The Main Tabs
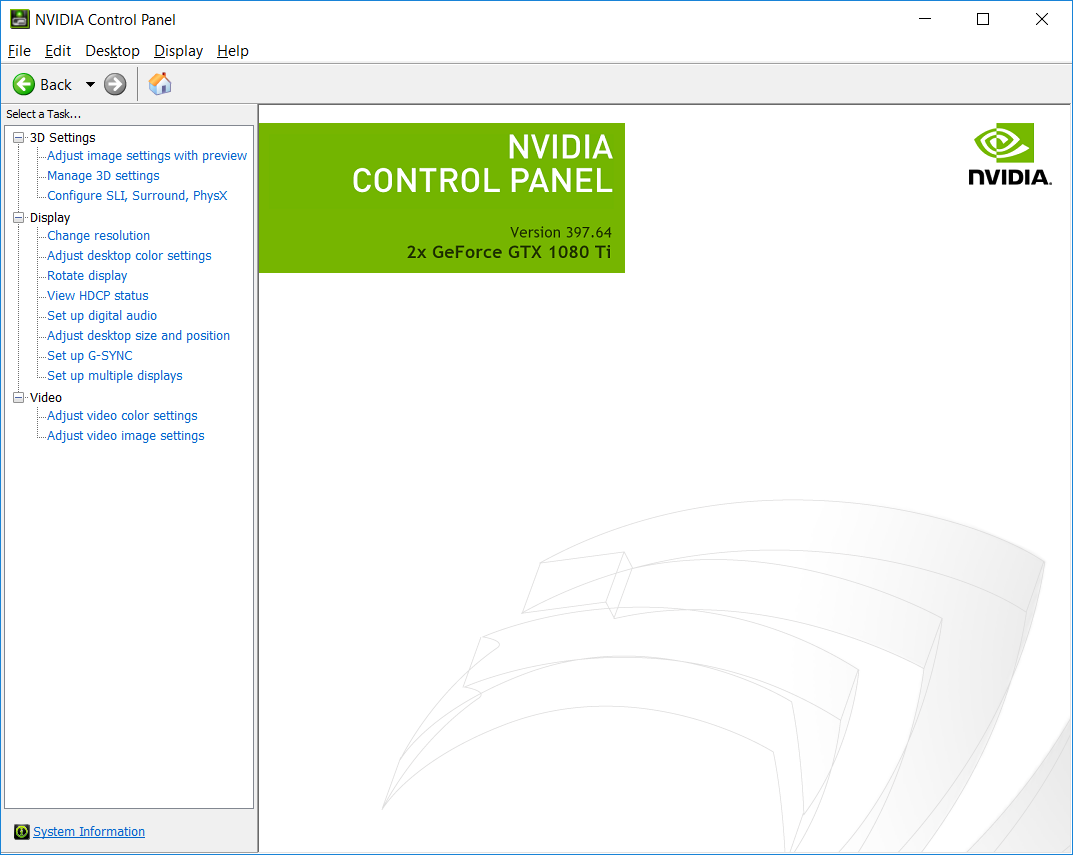
When the panel opens, you’ll notice a tree‑like structure on the left. The top level is typically split into three sections: Display, 3D Settings, and Video. Each of these contains sub‑categories that control specific aspects of the GPU. Here’s a quick rundown:
- Display – Adjust screen resolution, scaling, and color calibration.
- 3D Settings – Fine‑tune game performance, enable or disable features like VSync, and set per‑application overrides.
- Video – Manage playback quality for media applications and set hardware decoding options.
Display Settings
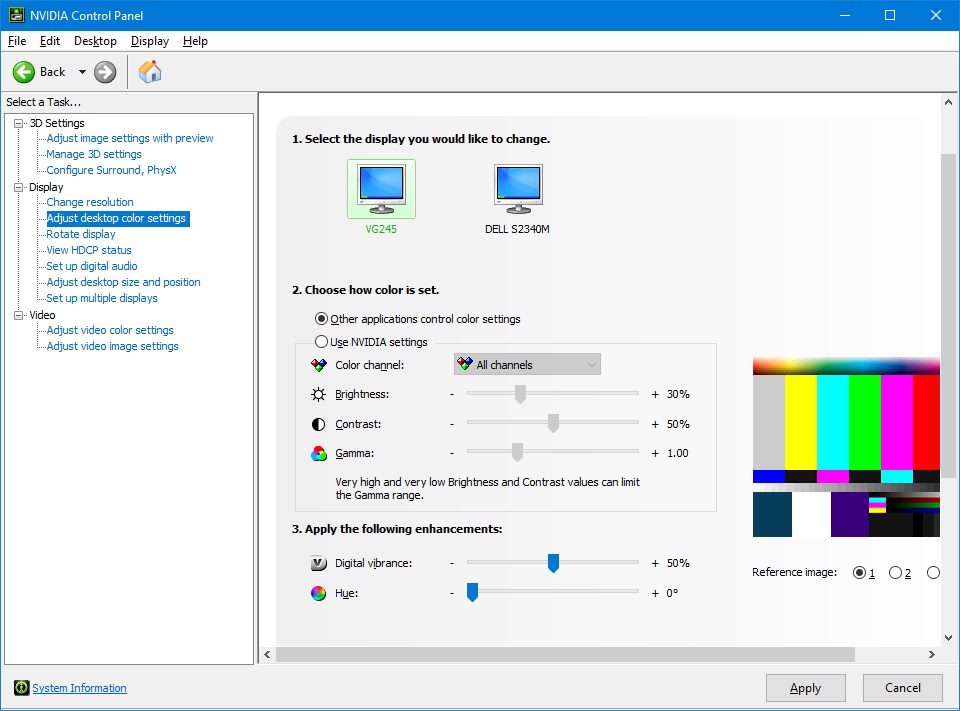
Under Display > Set up multiple displays, you can configure dual‑monitor setups, arrange screens, and choose primary display. In the same section, Set up Single Display lets you tweak refresh rate and resolution. If you’re using a monitor that supports HDR, the HDR settings are also housed here.
3D Settings – Global vs. Program
Global Settings affect all 3D applications. You can toggle the NVIDIA GPU from the integrated GPU, set an application‑wide refresh rate, and enable features like Anisotropic Filtering or Anti‑Aliasing. Program Settings allows you to create per‑game profiles. Click “Add” and select the executable, then override global settings with game‑specific tweaks. This is invaluable for maximizing FPS or visual quality in titles that demand different settings.
Video Settings
Video > Video playback lets you choose the best playback mode for your media. For instance, you can enable CUDA Video Decoder to offload video decoding to the GPU, freeing CPU resources. You can also adjust hardware decoding quality and choose the display output format. These options are particularly useful if you stream or watch high‑definition content.
Fine‑Tuning Performance and Visual Quality
Once you’re familiar with the layout, here are a few common tweaks that can make a noticeable difference:
- Vertical Sync (VSync) – Toggle VSync to reduce screen tearing, but consider using NVIDIA’s G-Sync or FreeSync if your monitor supports it.
- Ambient Occlusion – Increase sample count for more realistic shading in supported games.
- Anisotropic Filtering – Set to 8x or 16x for sharper textures without a huge performance hit.
- Texture Filtering Quality – Choose “High Quality” for the best visuals, or “Low” to boost FPS on older GPUs.
- Power Management Mode – Switch between “Optimal Power” for battery life and “Prefer Maximum Performance” for gaming rigs.
Exporting and Sharing Your Settings
If you want to back up your configuration or share it with a friend, the Control Panel offers an export feature. Go to Help > Import/Export Settings. You can export a profile file (.xml) that contains all your current settings, which you can later import on another machine or restore if an update messes things up.
Troubleshooting Common Issues
Sometimes the panel doesn’t appear, or settings don’t seem to apply. Here are a few quick fixes:
- Reinstall Drivers – Use the “Clean Install” option in NVIDIA GeForce Experience to remove corrupted files.
- Check for Updates – Out‑of‑date drivers can cause the Control Panel to malfunction. Updating via GeForce Experience or the NVIDIA website is a good first step.
- Run as Administrator – Some settings require elevated permissions; right‑click the Control Panel icon and choose “Run as administrator.”
- Reset Settings – Under Help > Restore Defaults, you can reset every option to its factory state.
FAQ
- Can I use the NVIDIA Control Panel on a laptop with integrated graphics? Yes, but many settings will be limited to the integrated GPU; the panel will only show options relevant to the active GPU.
- Is there a way to automate performance tweaks for each game? The Program Settings section allows you to create per‑game profiles that automatically switch when you launch the game.
- What should I do if my GPU isn’t listed? Verify that your graphics card is properly seated and that the latest driver for your model is installed. If the card is very new, you may need to enable “Allow legacy GPU” in the BIOS.
- Can I control color profiles from the Control Panel? For most users, the Windows Color Management tool is more suitable; however, you can enable “Display Color” options under the Display tab for basic adjustments.