How to Set Up a Proxy in BlueStacks: A Step‑by‑Step Guide
BlueStacks has become the go‑to emulator for Android gaming and productivity on the PC, but it can hit a wall when you’re in a region that blocks certain apps or when you want to keep your online identity private. Setting a proxy lets you route all BlueStacks traffic through a different server, unlocking geo‑restricted content and adding a layer of anonymity. In this guide we’ll walk you through every click and keystroke, so you can get a proxy up and running in minutes.
Why Use a Proxy with BlueStacks?
Proxies are handy for three main reasons:
- Region Unlocking – Many streaming services and games are tied to the IP you’re connecting from. A proxy in the United Kingdom, for example, can give you a UK IP and access to region‑locked titles.
- Privacy and Security – By tunneling traffic through a trusted server, you hide your real IP from the apps you run inside BlueStacks.
- Performance Tweaks – In some cases, a proxy closer to the game server can reduce latency, though this is highly variable.
Preparing Your Proxy Credentials
Before you open BlueStacks, you’ll need the following details from your proxy provider:
- Proxy address – e.g.,
proxy.example.com - Port number – commonly 8080 for HTTP, 1080 for SOCKS5
- Username and password – only if authentication is required
- Protocol type – HTTP or SOCKS5 (BlueStacks does not support HTTPS proxies)
Save these in a note so you can reference them easily during the setup.
Opening BlueStacks Settings
Launch BlueStacks and click the gear icon in the top‑right corner to open Settings. The layout may vary slightly between versions, but the proxy option always resides under Preferences.
Configuring the Network Settings for the Proxy
Follow these steps to apply your proxy:
Enter Proxy Information
Navigate to Preferences → Network. In the Proxy section, select Manual Proxy from the dropdown menu. Then enter:
- Proxy Address – the host or IP you noted earlier.
- Port – the proxy port.
If you’re using a SOCKS5 proxy, tick the Use SOCKS5 checkbox.
Enable Authentication (if required)
Check Use Authentication and type in your username and password. Leave the “Domain” field blank unless your provider specifies one.
Save and Test the Connection
After saving, open a web browser app within BlueStacks (Chrome, Firefox, or the built‑in browser). Try to visit a site that shows your IP, such as whatismyip.com. If the displayed IP matches the one from your proxy provider, you’ve successfully routed BlueStacks traffic through the proxy.
Common Issues and How to Fix Them
Even with careful setup, a few hiccups can arise. Here are quick fixes:
- DNS errors – Switch the proxy’s DNS setting to
8.8.8.8or your provider’s DNS in the Network tab. - Incompatible protocol – If your game refuses to connect, try changing from HTTP to SOCKS5 or vice versa.
- BlueStacks version mismatch – The latest BlueStacks 5 may hide proxy options under a different submenu; always ensure you’re on the most recent build.
Advanced Tips: Using Third‑Party Proxy Tools
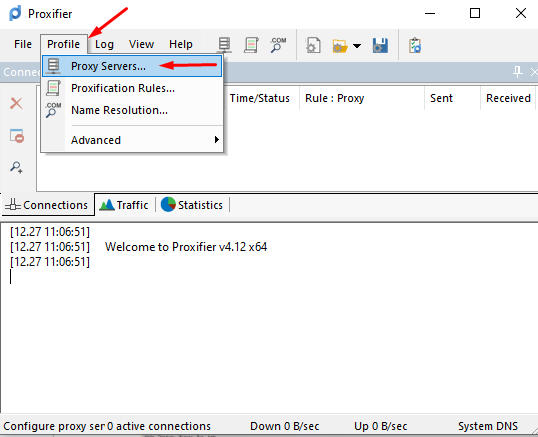
Some users prefer to route all PC traffic, not just BlueStacks, through a single proxy. In that case, a system‑wide tool like Proxifier can be invaluable. Install Proxifier, create a rule that targets the BlueStacks process, and point it to your proxy address. This method also works if your proxy provider only offers an HTTP tunnel that BlueStacks can’t read directly.
FAQs
- Does BlueStacks support VPN connections? BlueStacks does not have a built‑in VPN toggle, but you can install a VPN app inside the emulator or use a system‑wide VPN on your host machine.
- Will a proxy slow down my gaming experience? It depends on