How to Uninstall AMD Radeon Drivers Safely and Completely
If you’ve been troubleshooting graphics glitches, upgrading to a newer GPU, or just want a fresh start, the first step is to uninstall AMD Radeon drivers safely. Skipping a clean removal can leave stray files that cause conflicts later, especially when you reinstall a different version. Below is a practical, step‑by‑step guide that walks you through the whole process, from preparation to post‑uninstall clean‑up.
Why a Clean Uninstall Matters
AMD’s driver package installs more than just the core graphics files. It adds services, registry entries, and optional utilities like Radeon Software, Game Advisor, and the AMD Control Panel. When remnants linger, Windows may try to load outdated components, leading to blue screens, performance drops, or installation errors for the next driver. A tidy uninstall reduces these risks and gives the system a clean slate.
Preparing Your System Before Removal
Before you dive in, a few quick precautions can save you headaches:
- Back up important data – while driver removal rarely affects personal files, it’s a good habit.
- Create a system restore point – this lets you roll back if something unexpected happens.
- Close all running applications, especially games or video‑editing software that might be using the GPU.
These steps take only a minute or two and give you a safety net.
Step‑by‑Step Guide for Windows 10/11
1. Use AMD’s Cleanup Utility
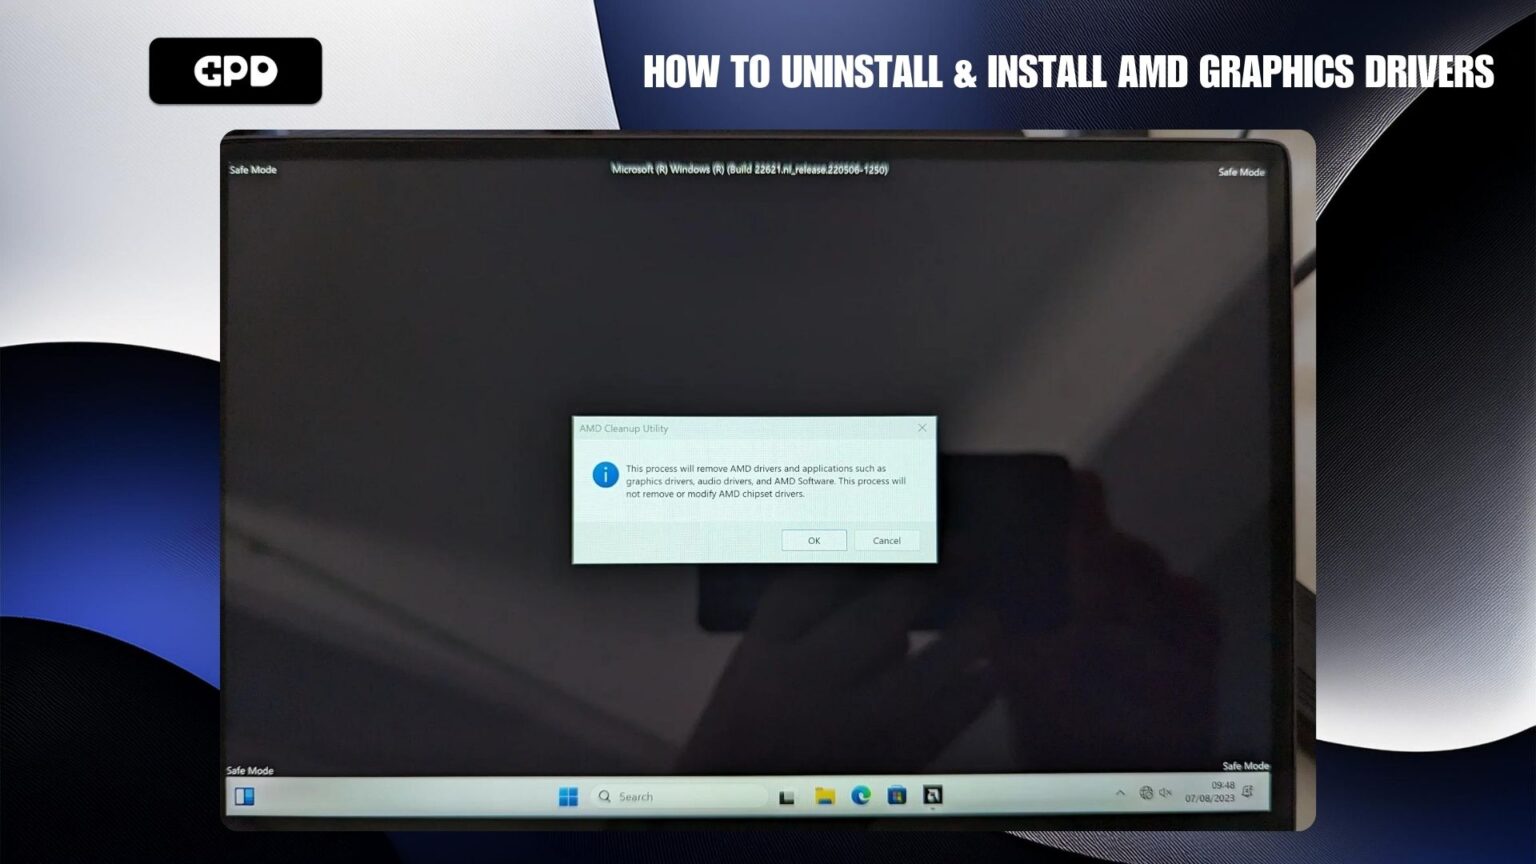
The most reliable way to wipe the driver suite is with the official AMD Cleanup Utility. Download it from AMD’s support site, run the .exe, and follow the prompts. The tool automatically stops related services, removes driver files, and cleans the registry. After it finishes, you’ll be prompted to restart.
2. Verify Removal in Device Manager
Once Windows restarts, open Device Manager (right‑click the Start button → Device Manager). Expand “Display adapters.” If “AMD Radeon” still appears, right‑click it and choose “Uninstall device.” Check the box that says “Delete the driver software for this device” before confirming.
3. Delete Leftover Folders Manually
Navigate to C:\Program Files\AMD and C:\Program Files (x86)\AMD. If any folders remain, delete them. Also check C:\AMD and the “ProgramData\AMD” directory for residual files. Be cautious not to delete unrelated folders.
4. Clean the Registry (Optional)
If you’re comfortable editing the registry, open regedit and search for “AMD.” Delete keys under HKEY_LOCAL_MACHINE\SOFTWARE\AMD and HKEY_CURRENT_USER\Software\AMD. Always back up the registry beforehand.
Alternative Methods and Tools
Not everyone wants to use command‑line tricks or third‑party utilities, but a few reputable options exist:
- Display Driver Uninstaller (DDU) – a popular, free tool that works in Safe Mode. It automates the steps above and includes a built‑in restore‑point creator.
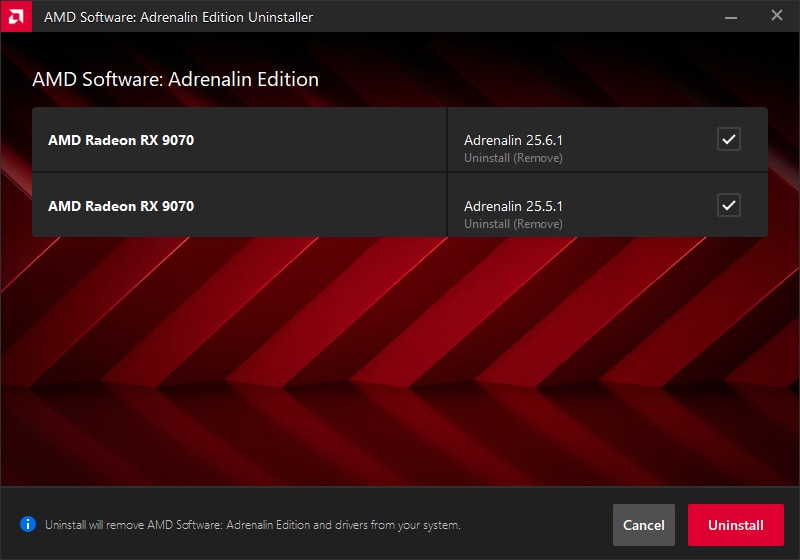
- Windows Settings – Apps & Features – you can locate “AMD Radeon Software” in the list and click “Uninstall.” This method is simpler but often leaves hidden files behind.
- PowerShell script – for advanced users, a script can query installed driver packages and remove them with
pnputil. Example:pnputil /delete-driver oem*.inf /uninstall /force.
Regardless of the method, the key principle is the same: stop AMD services, delete driver files, and clean registry entries.
After the Uninstall: What to Do Next
With the old drivers out of the way, you have a few sensible next steps:
- Install the desired driver version – whether you’re downgrading to a stable release or trying the latest beta, download it directly from AMD’s website to avoid bundled third‑party software.
- Run Windows Update – Windows may suggest a generic Microsoft driver; you can ignore it if you prefer AMD’s own package.
- Test the new installation – launch a game or benchmark tool and watch for smooth performance. If issues reappear, consider reinstalling the cleanup utility and repeating the process.
Keeping a log of the driver version you installed and the date can help you troubleshoot future problems more quickly.
Common Pitfalls and How to Avoid Them
Skipping the restart – many users try to install a new driver immediately after the cleanup utility finishes. A reboot ensures all AMD services are fully stopped.
Leaving the AMD Service Running – services like “AMD External Events” can restart the driver in the background. Stopping them via services.msc before deletion prevents this.
Using an outdated cleanup tool – AMD updates its utility alongside driver releases. Always download the latest version to match the driver you intend to remove.
FAQ
Do I need to uninstall AMD drivers before installing a new version?
It’s not strictly required, but a clean uninstall greatly reduces the chance of file conflicts or leftover settings that could affect the new driver’s performance.
Can I remove AMD drivers without third‑party tools?
Yes. Using the AMD Cleanup Utility combined with manual steps in Device Manager and file deletion usually does the job. Third‑party tools like DDU are convenient but optional.
Will uninstalling the drivers affect my Windows activation or other software?
No. The drivers are independent of Windows licensing. However, if you rely on specific AMD utilities (e.g., Radeon ReLive), you’ll need to reinstall them after the new driver is in place.
Is it safe to delete AMD folders from the ProgramData directory?
Generally, yes. Those folders contain only driver‑related caches and logs. Deleting them frees up space and eliminates potential leftover configuration files.