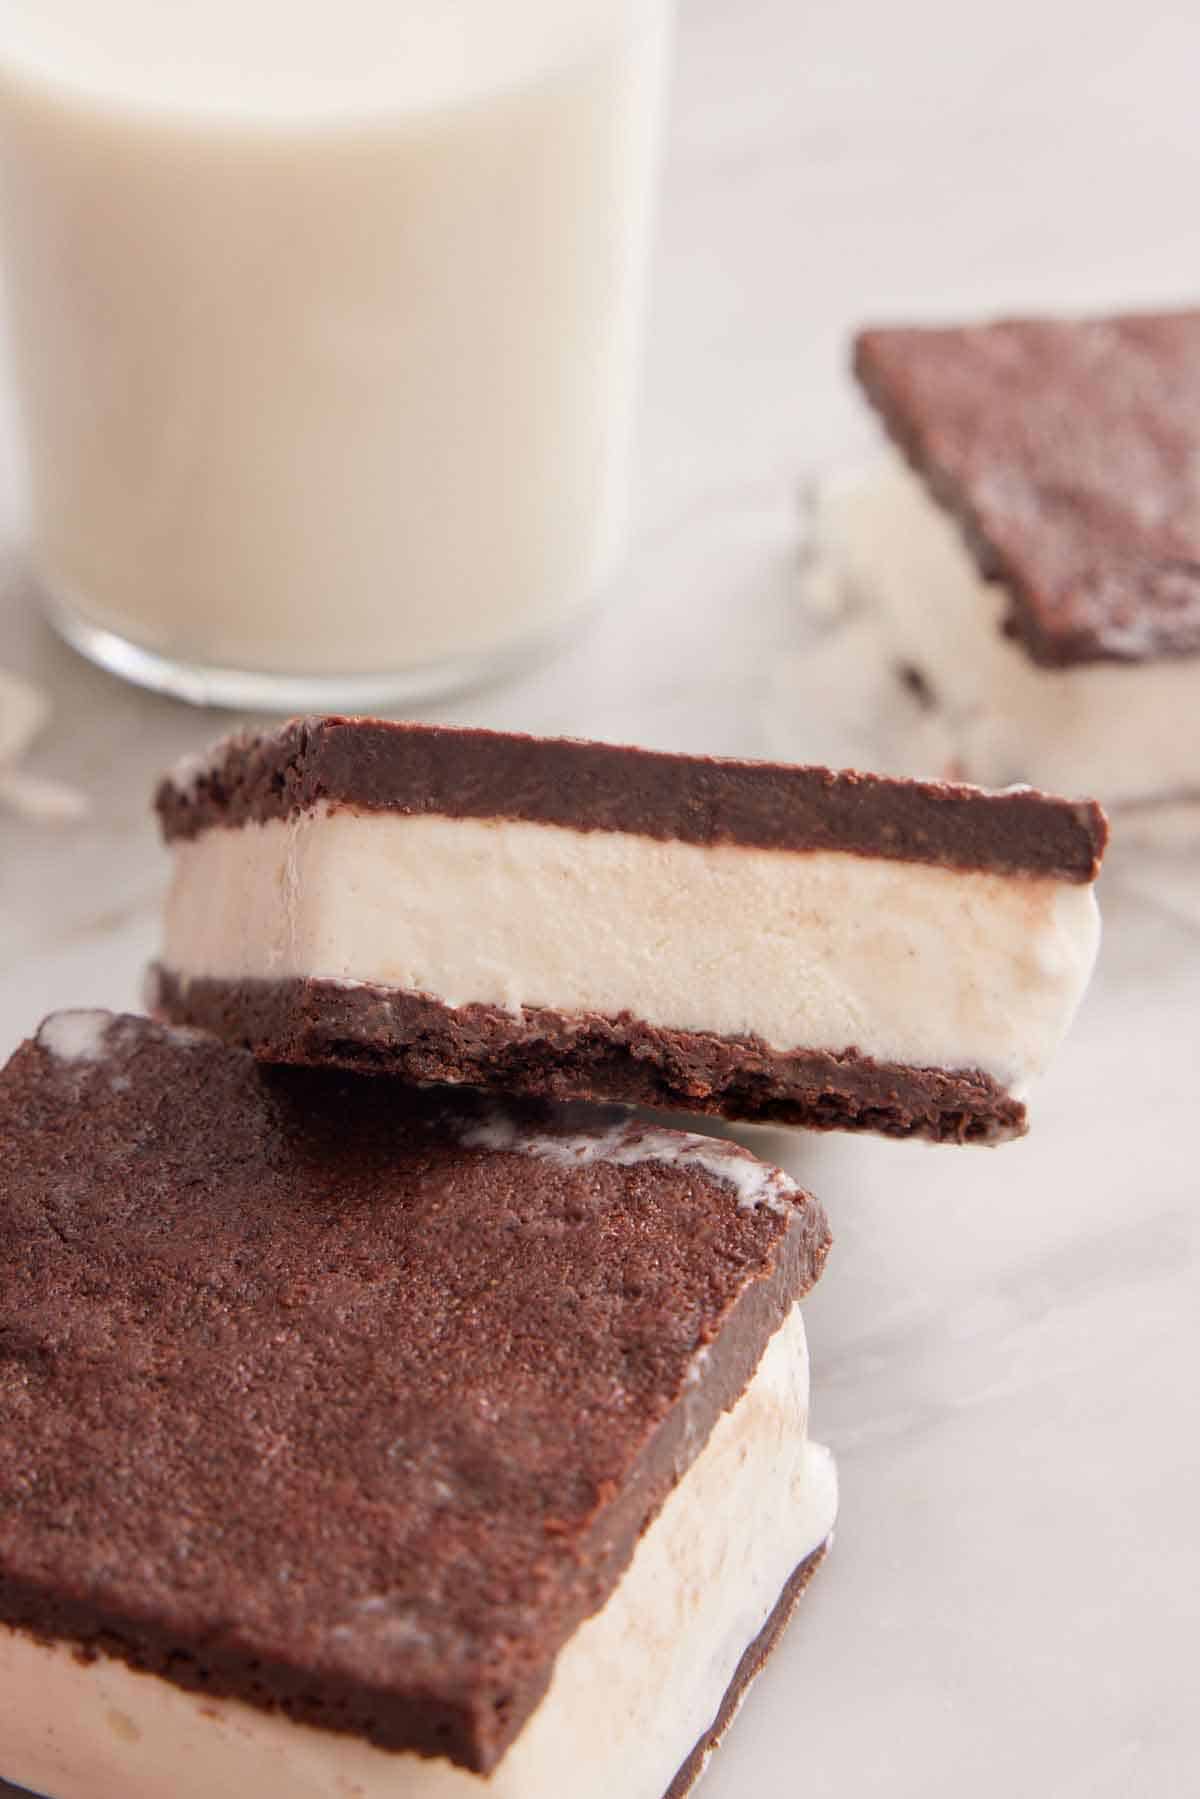
How to Craft the Perfect Crunchy Ice Cream Sandwich
Imagine biting into a cool, creamy center that’s hugged by a satisfyingly crisp cookie or wafer. That contrast is the hallmark of a truly great crunchy ice cream sandwich, and getting it right isn’t as hard as you might think. Below is a step‑by‑step guide that walks you through the essential ingredients, the best way to achieve that satisfying snap, and a few creative twists to keep things fresh.
What Makes a Crunchy Ice Cream Sandwich Perfect?
At its core, perfection hinges on three factors: texture, flavor balance, and temperature control. The outer layer needs a firm bite without being stale, the ice cream should stay soft enough to bite into, and the two components must complement each other rather than clash. When you nail these basics, every mouthful feels intentional.
Choosing the Right Base
The “crunch” can come from several sources. Here are the most reliable options:
- Classic Sugar Cookies – buttery, slightly sweet, and easy to shape.
- Waffle Cones or Waffle Cookies – already designed for crispness.
- Rice Crispy Treats – for a light, airy snap that melts quickly in the mouth.
- Chocolate or Oat Bars – add a richer flavor profile.
Pick a base that matches the ice cream flavor you plan to use; vanilla pairs nicely with any cookie, while a chocolate‑mint ice cream shines against a dark cocoa wafer.
Essential Ingredients
Here’s a quick rundown of what you’ll need for a batch of twelve sandwiches:
- 1 cup (225 g) unsalted butter, softened
- ½ cup (100 g) granulated sugar
- ½ cup (110 g) packed brown sugar
- 2 large eggs
- 2 teaspoons vanilla extract
- 2 ½ cups (315 g) all‑purpose flour
- ½ teaspoon baking soda
- ¼ teaspoon salt
- 1 ½ cups (150 g) rolled oats (optional, for extra crunch)
- 12 ounces (340 g) premium ice cream, slightly softened
If you’re using pre‑made cookies or wafers, you can skip the dough ingredients and focus on the ice cream and any coating you might add.
Preparing the Crunchy Layers
Even if you start with store‑bought cookies, a quick toast can elevate the texture. Preheat your oven to 350 °F (175 °C). Place the cookies on a baking sheet and bake for 5‑7 minutes, just until the edges turn golden. Keep an eye on them; you want a firm bite, not a burnt taste.
For homemade dough, cream the butter and sugars until light, then whisk in the eggs and vanilla. Combine the dry ingredients separately, then fold them into the wet mixture. If you’re adding oats, sprinkle them in now. Chill the dough for 30 minutes—this prevents spreading and helps the cookies stay thin and crisp.
Roll the dough to about ¼‑inch thickness and cut circles (or any shape you prefer) with a cookie cutter. Bake for 8‑10 minutes, rotate the sheet halfway through for even browning. Let the cookies cool completely on a wire rack; they’ll continue to firm up as they lose residual heat.
Choosing the Ice Cream
For maximum contrast, use an ice cream that’s a few degrees softer than you’d serve it. Scoop it onto a parchment‑lined tray, flatten each mound with the back of a spoon, and freeze for 20‑30 minutes. This “pre‑freeze” step ensures the ice cream won’t ooze out when you press the cookies together.
Flavor ideas:
- Classic vanilla bean – the universal partner.
- Salted caramel – adds a sweet‑salty pop.
- Strawberry‑rhubarb – bright and a little tart.
- Matcha green tea – unexpected but delightful with a chocolate cookie.
Assembly Tips
Now for the fun part. Take a cooled cookie, spread a generous spoonful of softened ice cream onto the flat side, and top with a second cookie, pressing gently until the edges meet. If the sandwich feels loose, give it a brief press with the palm of your hand; the cookie will compress just enough to hold the filling.
For an extra crunch, dip the edges of each sandwich in melted chocolate, then roll them in crushed nuts, toasted coconut, or more crushed cookies. Place the finished sandwiches on a parchment sheet and return them to the freezer for at least an hour before serving.
Freezing and Storage
Store the sandwiches upright in an airtight container, layering parchment between rows to prevent sticking. A good rule of thumb is to keep them at –18 °C (0 °F) or colder; this maintains the crispness of the outer layer while keeping the ice cream scoopable.
When you’re ready to serve, let the sandwiches sit at room temperature for 3‑5 minutes. This short melt allows the flavors to open up without sacrificing the crunch.
Creative Variations
If you want to experiment beyond the classic, try these twists:
- Brownie Base – bake a thin brownie sheet, cut into squares, and use as the crunchy side.
- Nut‑Crusted Exterior – roll the ice cream in finely chopped pistachios before sandwiching.
- Layered Fillings – add a thin layer of fruit jam or caramel between the ice cream and cookie for surprise texture.
- Alcohol‑Infused Ice Cream – a splash of bourbon or amaretto in the ice cream gives a grown‑up edge.
Serving Ideas
Present the sandwiches on a wooden board with fresh berries and a drizzle of sauce that matches the ice cream flavor. A dusting of powdered sugar adds a visual pop, while a side of whipped cream lets guests customize each bite.
Frequently Asked Questions
Can I make a crunchy ice cream sandwich without an oven?
Yes. Toast the cookies in a dry skillet over medium heat for a few minutes per side, or use pre‑baked wafer sheets that are already crisp.
How long can I keep the sandwiches in the freezer?
They stay at peak texture for up to two weeks. After that, the outer cookie may begin to absorb moisture, softening the crunch.
What’s the best way to prevent ice cream from leaking?
Chill the ice cream until it’s firm, use a thin, even layer, and make sure the cookie edges meet fully. A quick extra freeze after assembly also creates a seal.
Are there vegan options for a crunchy sandwich?
Absolutely. Swap butter for coconut oil or a plant‑based margarine, use a dairy‑free ice cream (coconut milk, almond, or oat base), and choose cookies made without eggs.