How to Restore a Motorcycle Carburetor: Step‑by‑Step Guide
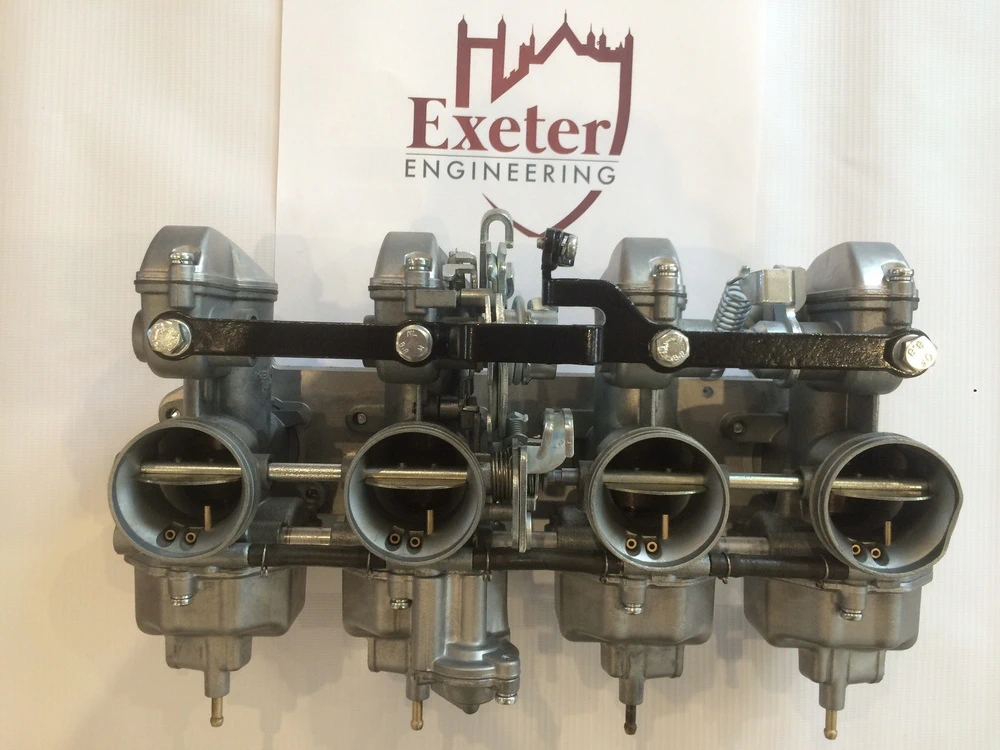
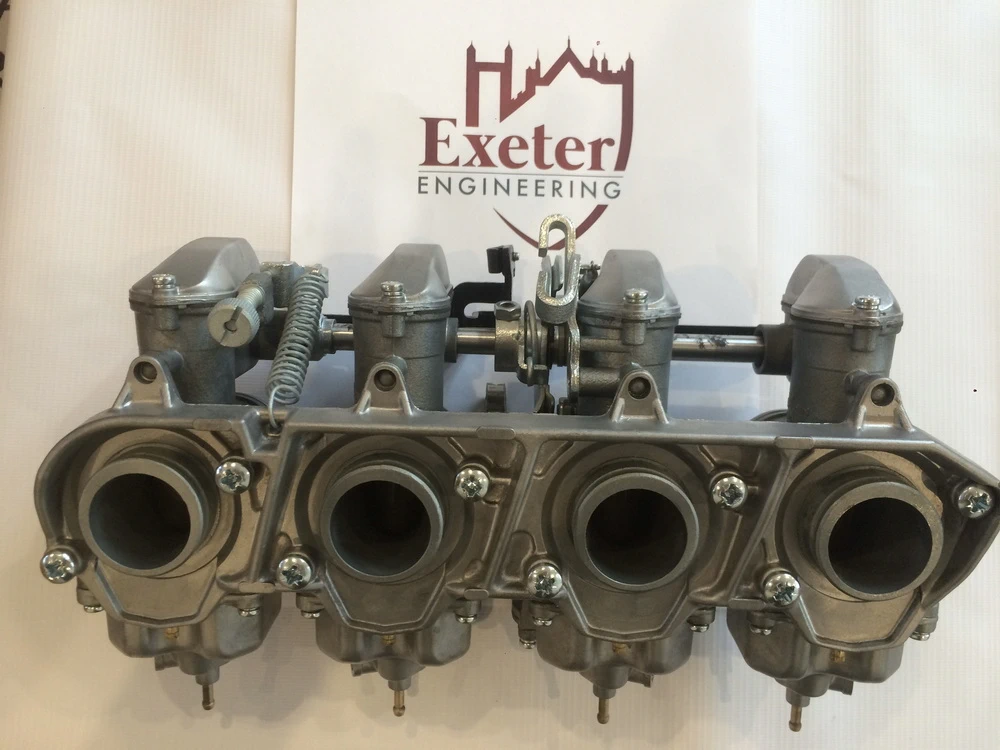
When a bike starts to cough, stumble at idle, or lose power, the culprit is often the carburetor. A thorough motorcycle carburetor restoration can bring back smooth acceleration and fuel efficiency without the cost of a brand‑new unit. Below you’ll find a practical roadmap that walks you through every stage, from pulling the part off the engine to fine‑tuning the jetting for everyday riding.
Why restore the carburetor?
The carburetor mixes air and fuel in the exact proportions needed for combustion. Over time, varnish, dirt, and tiny metal particles clog the passages, causing uneven mixtures. Restoring the carburetor not only revives performance but also extends the life of other engine components that would otherwise suffer from a lean or rich condition.
Gathering the right tools and materials
- Basic hand set (sockets, wrenches, and screwdrivers)
- Carburetor cleaning solvent (acetone‑free is best)
- Soft‑bristled brushes and a small wire brush
- Compressed air or a low‑pressure air gun
- New gaskets, O‑rings, and a rebuild kit specific to your model
- Safety gear – gloves, goggles, and a well‑ventilated workspace
Taking the carburetor apart safely
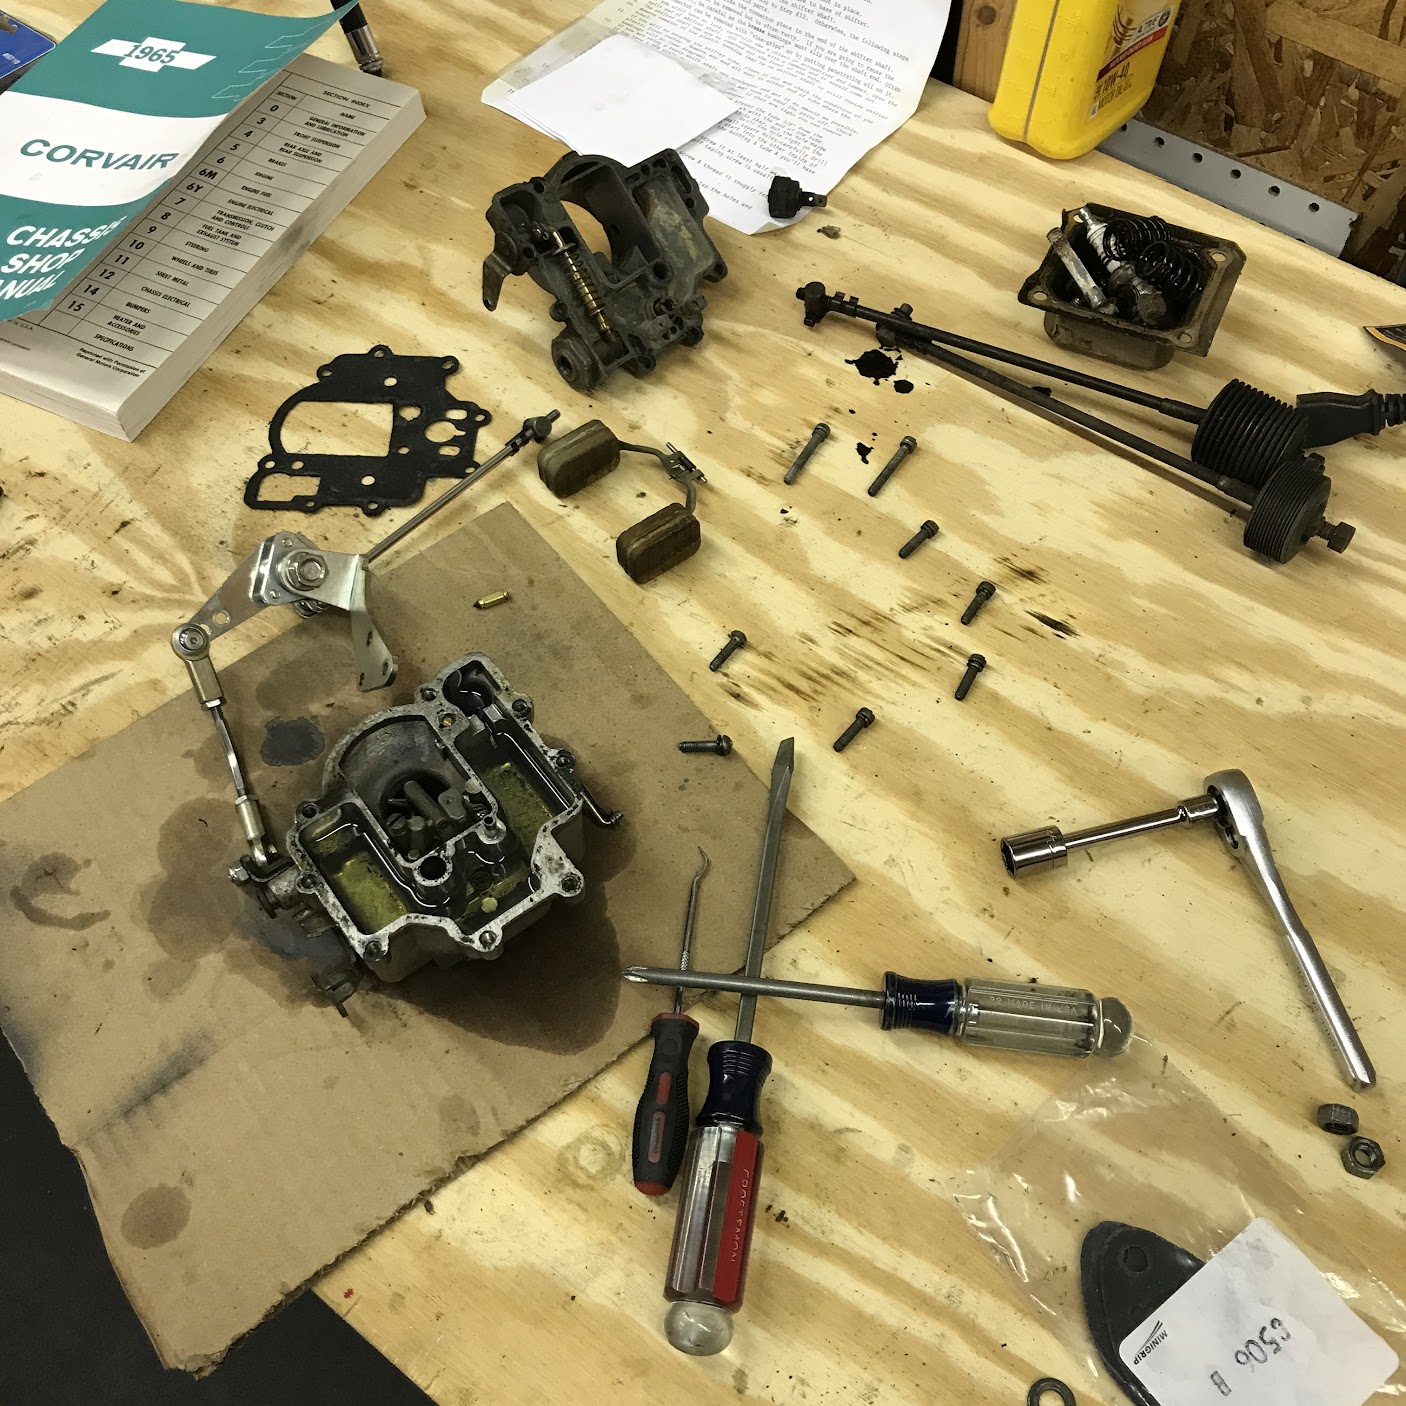
First, disconnect the fuel line, throttle cable, and any vacuum hoses. Take a photo or make a quick sketch of the assembly; this visual aid saves a lot of guesswork later. Then, loosen the mounting bolts and gently lift the carburetor away from the intake manifold.
Marking the parts
Use a marker or masking tape to label each screw and link. Some manufacturers use non‑standard thread sizes, so keeping track of where everything belongs prevents cross‑threading when you reassemble.
Cleaning the components
Soak the metal bodies in carburetor solvent for about 15 minutes. After soaking, spray the internal passages with a soft‑brush‑attached air nozzle, then blast them dry with compressed air. Avoid harsh abrasives; a delicate brush will dislodge deposits without scoring the brass or aluminum surfaces.
Inspecting for wear and damage
Look closely at the needle valve, float, and main jet. The needle tip should be smooth, and the float must move freely without wobble. Any cracked gaskets, corroded jets, or pitted brass should be replaced – they’re cheap enough to swap out and crucial for reliable operation.
Rebuilding the internals
Follow the instructions that come with your rebuild kit. Typically, you’ll install a new float bowl gasket, place fresh O‑rings on the throttle shaft, and insert the new jets. When setting the float level, use a small ruler or the factory‑specified measurement; an off‑by‑0.5 mm float can throw the entire mixture out of balance.
Reassembly and initial test
Reverse the disassembly steps, making sure each bolt is torqued to the manufacturer’s specification. Reconnect the fuel line, throttle cable, and vacuum hoses. Before you fire up the engine, turn the fuel valve to “off” and crank the engine a few times to clear any stray solvent.
Now switch the fuel valve to “on” and start the bike. Expect a rough idle at first – that’s normal while the new jets settle. Let the engine run for a few minutes, then adjust the idle screw until the RPMs hold steady.
Fine‑tuning the jetting
Riding in different conditions often requires minor jet changes. If you notice hesitation during acceleration, try a slightly richer main jet; if the bike bogs at high RPMs, a leaner jet may help. Keep a small notebook of the adjustments you make – the trial‑and‑error process becomes easier the more you record.
Keeping your carburetor healthy
- Use fresh, clean fuel and add a fuel stabilizer if you store the bike for more than a month.
- Run the engine briefly every few weeks during long storage periods to circulate oil and fuel.
- Inspect the air filter weekly; a clogged filter forces the carburetor to work harder.
- Schedule a light cleaning every 6–12 months, even if the bike seems to run fine.
FAQs
Q: How often should I rebuild my motorcycle carburetor?
A: For most street bikes, a full rebuild every 15,000–20,000 miles keeps performance steady. Riders who frequently use low‑quality fuel or ride in dusty environments may need to do it sooner.
Q: Can I use a universal carburetor rebuild kit?
A: Universal kits contain generic parts that fit many models, but they often lack model‑specific jets or float needles. For best results, get a kit that lists your bike’s make and engine size.
Q: What’s the difference between a carburetor and a fuel injector?
A: A carburetor relies on vacuum to draw fuel into the airstream, while a fuel injector uses electronic pulses to spray precise amounts of fuel. Carburetors are simpler and cheaper to fix, but injectors offer tighter fuel control and lower emissions.