How to Transfer Files to Your New iPhone: The Complete Guide
Got a shiny iPhone waiting on the bedside table? Before you start snapping selfies, you’ll want all your photos, messages, apps, and that half‑finished spreadsheet to appear on the new device. Transferring files to a new iPhone can feel like a puzzle, but with a few clear steps you’ll have everything in place without a hitch.
Why a Direct Transfer Matters
Skipping the migration and starting from scratch means re‑downloading apps, losing chat histories, and hunting down old documents. A proper transfer preserves your personal settings, keeps your contacts synced, and—most importantly—saves you the time you’d otherwise spend rebuilding your digital life.
Transfer Files to New iPhone with Quick Start
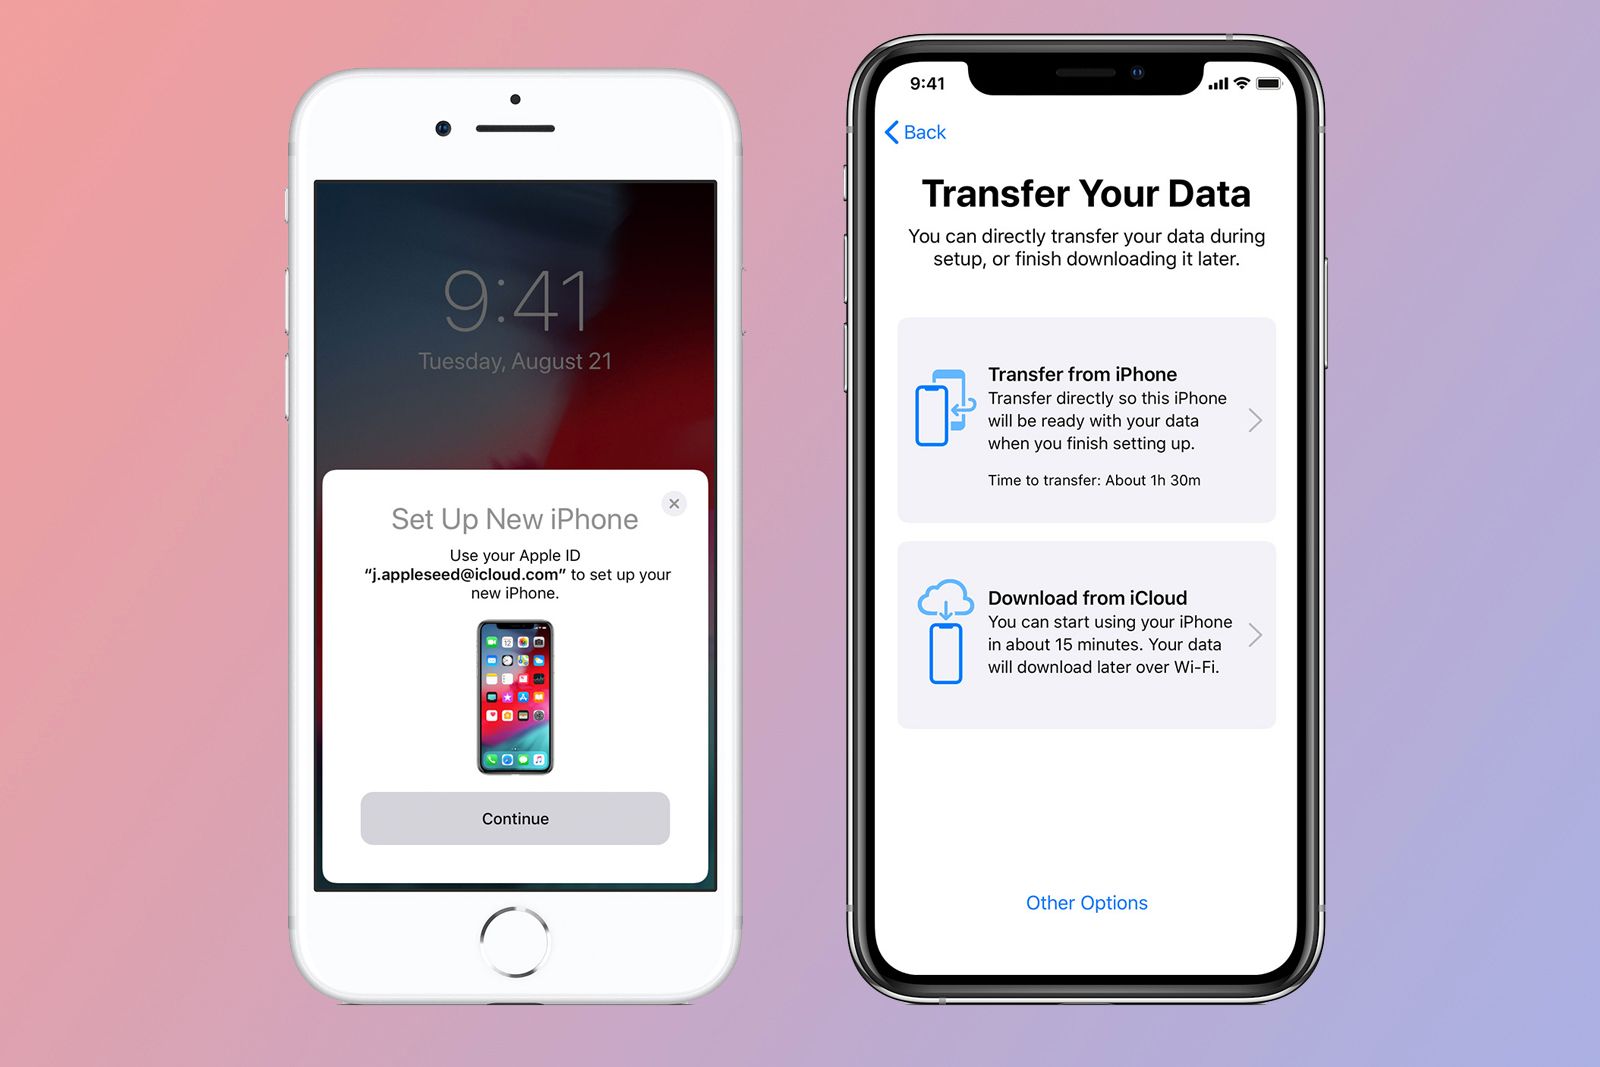
Apple’s Quick Start feature is the fastest way to copy everything during the initial setup.
- Step 1: Turn on both iPhones and place them near each other. The old device will display a prompt asking if you want to use your Apple ID to set up the new phone.
- Step 2: Scan the animated image on the new iPhone with your current iPhone’s camera. This creates a secure link between the two devices.
- Step 3: Choose “Transfer from iPhone” when the option appears. Your old phone will begin sending apps, photos, and settings over Wi‑Fi or a direct Bluetooth connection.
- Step 4: Keep the phones plugged in until the progress bar reaches 100 %. The process can take 20 minutes to an hour, depending on the amount of data.
Quick Start works best when both phones run iOS 12 or later and have sufficient battery life.
Using iCloud to Move Your Data
If you prefer a cloud‑based approach, iCloud does the heavy lifting for you.
- Make sure iCloud Backup is enabled on the old iPhone (Settings → [your name] → iCloud → iCloud Backup).
- Tap “Back Up Now” and wait for the process to finish. A typical backup takes 10–30 minutes on a fast Wi‑Fi network.
- When setting up the new iPhone, choose “Restore from iCloud Backup” and sign in with the same Apple ID.
- Select the most recent backup and let the device download your files. Photos stored in iCloud Photos appear instantly, while larger apps may continue loading in the background.
iCloud gives you the convenience of a wireless transfer, but you’ll need enough storage—5 GB is the default, and most users end up purchasing a larger plan.
Copying via a Computer (Finder or iTunes)
For those who like a wired connection, a Mac or PC can act as a bridge.
- Connect the old iPhone to your computer and open Finder (macOS Catalina or later) or iTunes (Windows or older macOS).
- Select the device, then click “Back Up Now.” Choose “Encrypt local backup” if you want passwords and Health data saved.
- After the backup finishes, disconnect the old phone and plug in the new one.
- Select “Restore Backup” and pick the most recent file. The computer will copy everything, including app data that iCloud might skip.
This method is especially useful when dealing with large video libraries that would otherwise strain a Wi‑Fi connection.
AirDrop and Other Wireless Options
AirDrop shines for sending individual files—photos, PDFs, or contacts—without a full restore.
- Enable AirDrop on both iPhones (Control Center → AirDrop → Everyone works best if you’re in a private space).
- Open the file you want to share, tap the share icon, and choose the new iPhone from the AirDrop list.
- Accept the transfer on the receiving device. The file appears in the appropriate app instantly.
For larger batches, consider using the “Shared Albums” feature in Photos or the “Files” app’s “Browse → Network” section to pull documents from a Mac or Windows share.
Third‑Party Tools Worth Considering
When Apple’s built‑in options fall short—perhaps you need to transfer WhatsApp chat logs or specific app data—third‑party software can help.
- iMazing: Offers granular backups, letting you pull individual app data or messages.
- AnyTrans: Supports cross‑platform moves, so you can shift media from Android or PC to iPhone.
- Dr.Fone – Phone Transfer: Provides a simple drag‑and‑drop interface for contacts, photos, and music.
Most of these tools require a paid license, but they often include free trials that let you test the process before committing.
Common Hiccups and How to Fix Them
- Transfer stalls at 0 %: Restart both iPhones, ensure they’re on the same Wi‑Fi network, and check that Bluetooth is active.
- Missing photos after iCloud restore: Verify that iCloud Photos is turned on in Settings → Photos. Sometimes a secondary “Optimize iPhone Storage” setting delays full‑resolution downloads.
- App data doesn’t appear: Not all apps support iCloud backup. Use a computer backup or a third‑party tool for those specific apps.
- Encryption key forgotten: Without the backup password, encrypted iTunes/Finder backups can’t be restored. Resetting the device and starting fresh may be the only option.
Frequently Asked Questions
Can I transfer data without an Apple ID?
No. All official Apple migration methods—Quick Start, iCloud, and Finder/iTunes—require you to sign in with the same Apple ID on both devices.
Is it safe to use third‑party transfer apps?
Reputable apps like iMazing and AnyTrans encrypt the data they move and don’t store anything on external servers. Still, read reviews and ensure you download from the official website to avoid malware.
Do I need to back up my old iPhone before switching?
Yes. Even if you plan to use Quick Start, a recent backup safeguards you against accidental data loss during the transfer.
What if my new iPhone runs a newer iOS version than the old one?
That’s actually ideal. Newer iOS can read backups from older versions, but the reverse isn’t true. You can always restore a backup from iOS 14 onto a device running iOS 16 without issues.
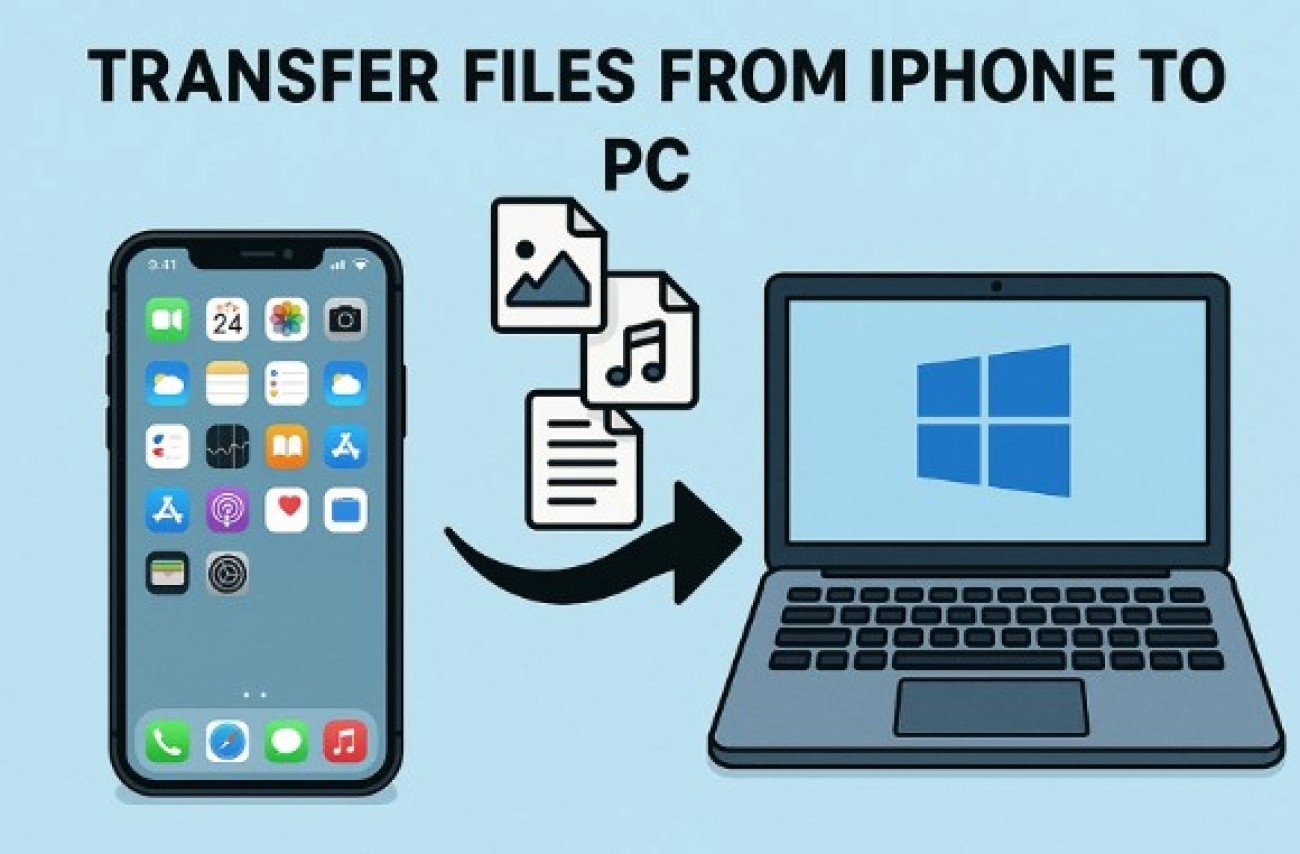
![[2026] How to Transfer Files from iPhone to iPhone](https://mobiletrans.wondershare.com/images/images2025/how-to-transfer-files-from-iphone-to-iphone-8.jpg)
![[Top Ways] Transfer Data to New iPhone After Setup](https://www.fonetool.com/screenshot/en/phone-transfer/iphone-to-iphone/transfer-iphone-to-iphone.png)