Mastering ISAKMP Phase 2: A Practical Configuration Guide
When you start setting up an IPsec VPN, the most common stumbling block isn’t the encryption algorithm—it’s the ISAKMP Phase 2 configuration. This stage locks in the actual traffic selectors and transforms the secure tunnel from a theoretical promise into a working pipe. In the next few minutes, we’ll peel back the layers, explain the essential parameters, and walk you through a concise, step‑by‑step setup you can copy into most Cisco, Juniper, or strongSwan environments.
What ISAKMP Phase 2 Really Does
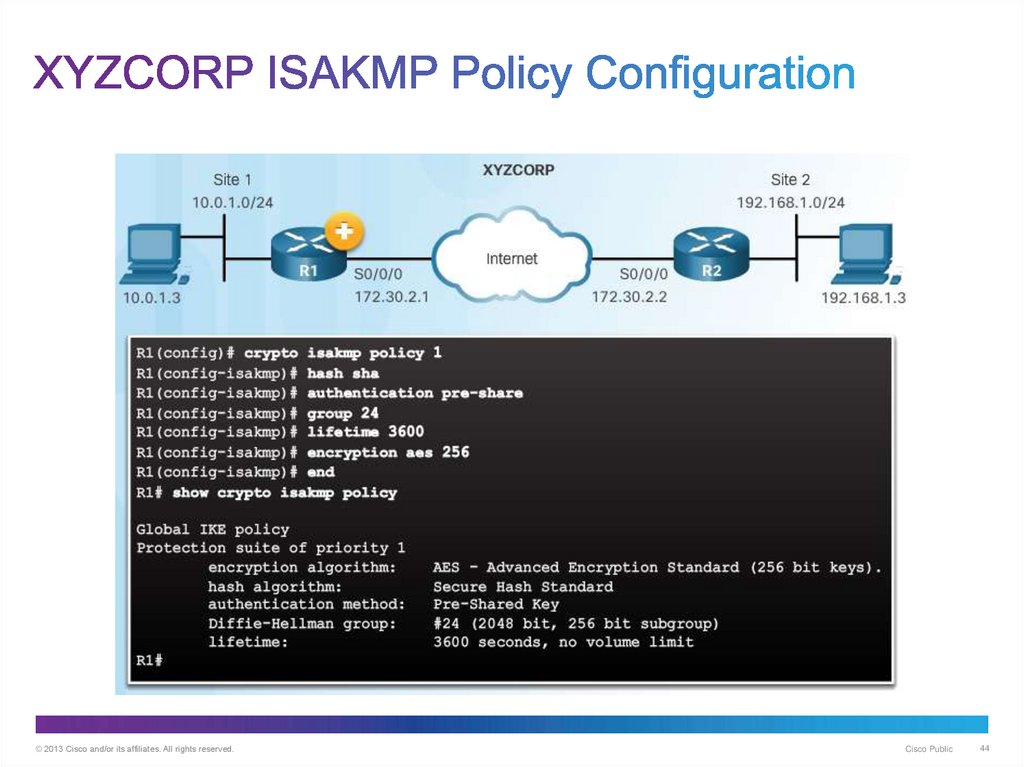
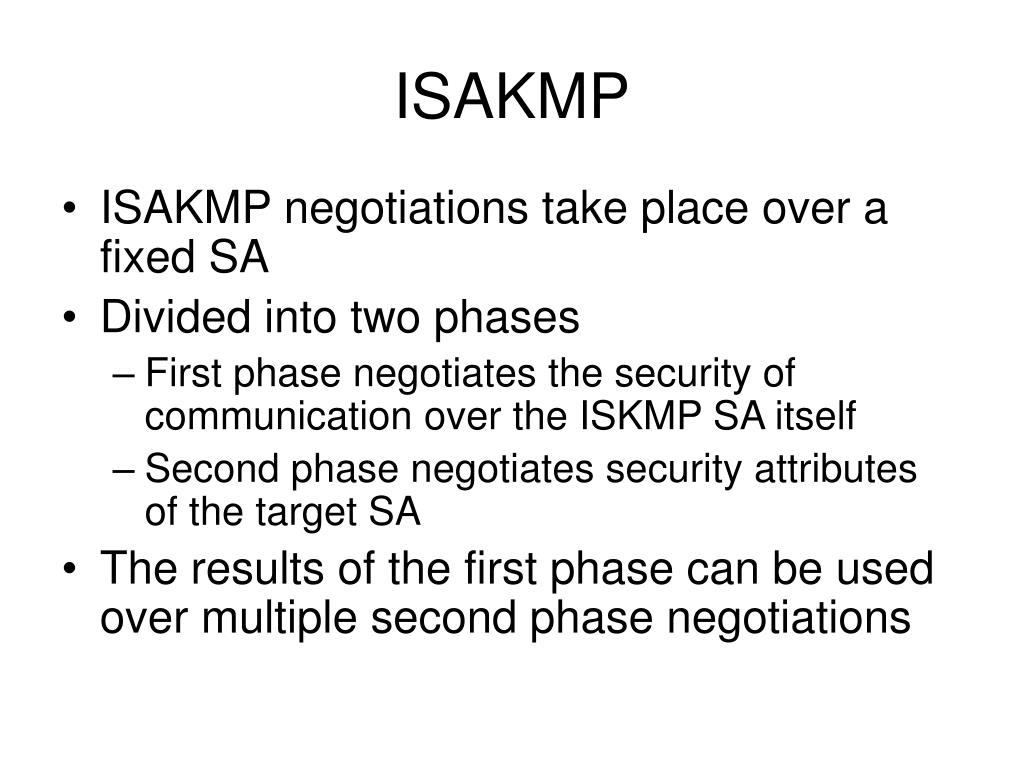
ISAKMP (Internet Security Association and Key Management Protocol) is the umbrella that governs how two endpoints negotiate security associations (SAs). Phase 1 establishes a protected channel—think of it as a secret handshake. Phase 2, the focus of our guide, uses that handshake to negotiate the IPsec SA that actually carries user data. In practice, Phase 2 defines the traffic selectors (source/destination subnets, protocols, ports) and selects the encryption/authentication algorithms that will protect the payload.
Core Parameters You Need to Set
- Transform Set: Combination of encryption (AES, 3DES) and integrity (SHA‑1, SHA‑256) algorithms.
- Mode: Tunnel mode is standard for site‑to‑site VPNs; transport mode is rare and used for host‑to‑host.
- Lifetime: How long the IPsec SA remains valid before renegotiation—commonly 3600 seconds.
- Perfect Forward Secrecy (PFS): Enables a Diffie‑Hellman group for each Phase 2 SA, adding a layer of security.
- Traffic Selectors: Exact subnets, protocols, and port ranges that the SA will protect.
- Replay Protection: Window size for anti‑replay checks, usually left at the default.
Step‑by‑Step Quick Configuration Guide
Below is a streamlined example for a Cisco ASA, but the concepts translate directly to other platforms.
- Define the transform set:
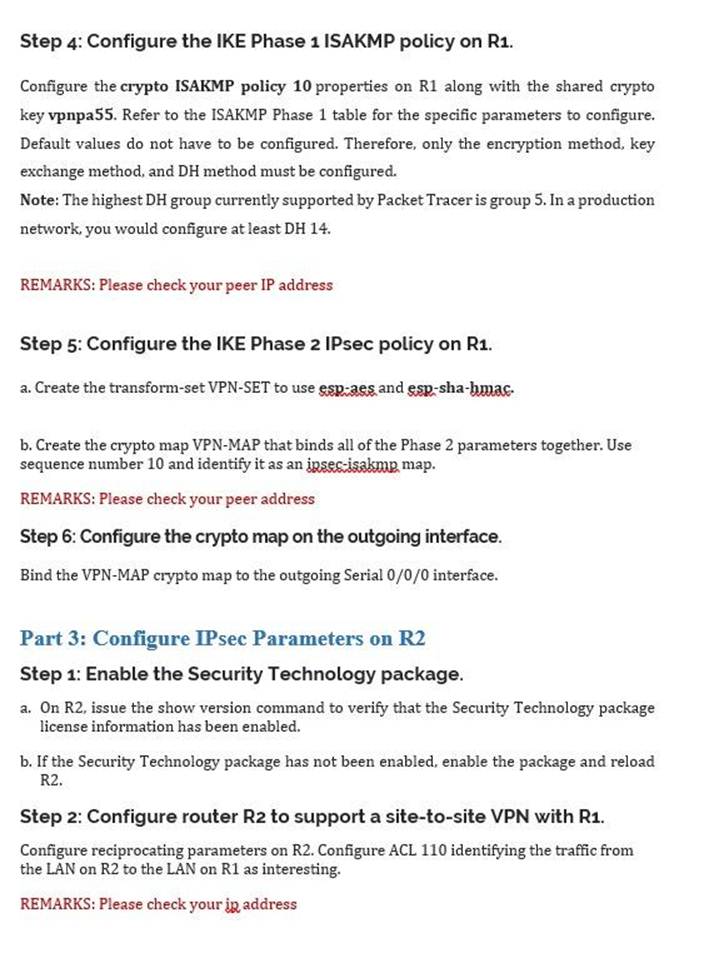
crypto ipsec transform-set MY_TRANSFORM esp-aes 256 esp-sha-hmac
- Create a crypto map and bind the transform:
crypto map OUTSIDE_MAP 10 ipsec-isakmp
set peer 203.0.113.2
set transform-set MY_TRANSFORM
match address ACL_VPN
- Specify the ACL that lists the traffic selectors:
access-list ACL_VPN extended permit ip 10.1.0.0 255.255.0.0 10.2.0.0 255.255.0.0
- Enable PFS (optional but recommended):
crypto map OUTSIDE_MAP 10 set pfs group14
- Set the SA lifetime:
crypto map OUTSIDE_MAP 10 set security-association lifetime seconds 3600
- Apply the crypto map to the outside interface:
interface GigabitEthernet0/0
crypto map OUTSIDE_MAP
On a Juniper SRX, the same logic appears as a set security ipsec vpn stanza, where you reference the IKE gateway from Phase 1, attach the ike-policy, and list the bind-interface and traffic-selector definitions. StrongSwan users will edit ipsec.conf with a conn block that mirrors these fields.
Common Pitfalls and How to Avoid Them
Even after you copy the commands above, a few subtle mismatches can break the tunnel.
- Mismatched lifetimes: If Phase 1 and Phase 2 lifetimes differ dramatically, the SA may expire before a renegotiation, causing intermittent drops.
- Incorrect traffic selector ordering: Some vendors treat the first subnet as “local” and the second as “remote.” Swapping them flips the direction and defeats the tunnel.
- Missing PFS on one side: Both ends must agree on the same Diffie‑Hellman group; otherwise the negotiation aborts with a “no proposal chosen” error.
- Overly broad ACLs: Including unintended networks can expose the VPN to unnecessary risk. Keep the ACL tight, matching exactly what you need.
When troubleshooting, always check the debug logs (e.g., debug crypto ikev1 on Cisco) and verify that the SA parameters displayed match your configuration.
Testing and Verification
After committing the configuration, confirm the tunnel is up with a quick ping from a host in the local subnet to a host in the remote subnet. On Cisco devices, show crypto ipsec sa will list the active SAs, their lifetimes, and the bytes encrypted. A healthy SA shows Encapsulation as “esp” and a non‑zero byte count.
For a deeper sanity check, use a packet capture on the outside interface. You should see UDP port 500 (IKE) only during the initial handshake, followed by ESP packets (protocol 50) once Phase 2 is established.
FAQ
Do I need to enable PFS for every Phase 2 SA?
It’s not mandatory, but enabling PFS (with a strong Diffie‑Hellman group) is best practice because it ensures that each SA has its own unique key material, limiting the impact of a single key compromise.
Can I use different encryption algorithms for Phase 1 and Phase 2?
Yes. Phase 1 often uses a lighter algorithm to speed up the initial handshake, while Phase 2 can afford stronger encryption like AES‑256 because the tunnel is already protected.
What happens if the traffic selectors on the two peers don’t match exactly?
The negotiation will fail with a “no proposal chosen” error. Both sides must agree on the same subnet ranges, protocol numbers, and port ranges for the SA to be established.
Is it safe to set the SA lifetime to a very high value?
Long lifetimes reduce the frequency of renegotiations but also increase the window of exposure if a key is compromised. A typical balance is 1–4 hours, combined with periodic re‑keying.